Archive
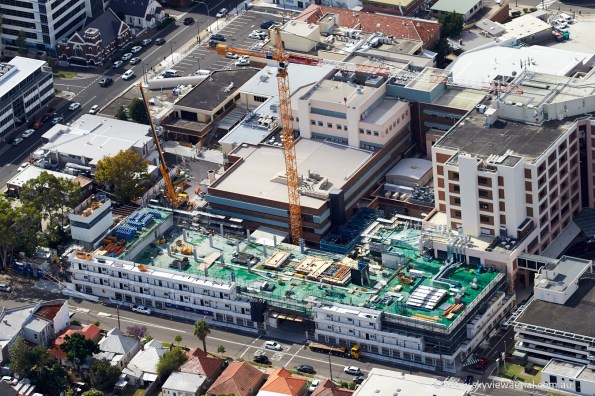
If a picture paints 1000 words, then this is a 2002 word summary of 2016 on the St George Hospital Project…
April:
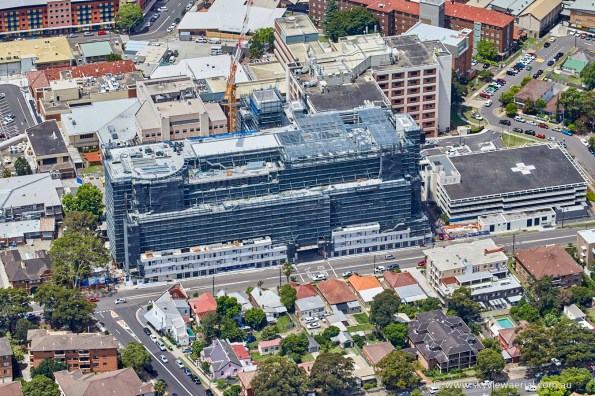
Dec:
Merry Christmas and Happy New Year.
James
This engineer built a 3D model. What he did next will SHOCK you…
Now that I have reeled you in with a click bait headline I will now proceed to chat about some fairly mundane Phase 3 stuff.
I have recently started Phase 3 with Wentworth House Partnership (Keltbrays’ Temporary Works department). On day one I was given the task of conducting a CAT 3 check on a facade retention system for a hotel in Burma. Essentially a large steel frame has been designed to hold up a wall and I need to check the design to ensure that it is safe and can be built (for the civils out there this is effectively like doing Ex STEEL but with trickier parts…..and yes I have already cursed whoever wrote the Eurocodes as they are as hard to follow as ever!).
To cut two weeks of steel design short I am just going to talk about one part of the process which is turning a complex model into a simple one in order to analyse it. In this instance I was trying to establish what load the piles supporting the facade retention system (and the facade) would be experiencing. The complex model is a 3D model that I built on a programme called Tekla Structural Designer (this is a lot like STAAD Pro but I think it is a bit more user friendly). I built the model by meticulously studying the engineer detail drawings and the associated CAD files so that I could turn a 2D drawing into a 3D model.

A screen shot of the Facade Retention System model (please note that this is just a section of a much larger frame)
I then added wind loading to the frame and was therefore able to analyse the frame within the model and get the vertical reactions at the supports due to the wind loading. I then created a separate model to analyse the effect of all the loading (wind loading, weight of facade, weight of Facade Retention System and self weight of the concrete slab that the facade and the retention system were sitting on) on the piles below.
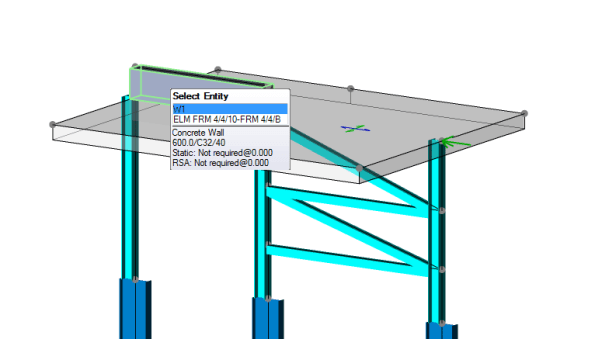
a view of the 3D modle I used to analyse the effect of all loading on the piles
From this separate model I was able to use the programme to view the total reactions on the piles and therefore use this value to check is the piles were adequate.
A 3D model is a fairly complex model and I needed to verify that the results the model was showing me were accurate and could be trusted. Consequently I had to simplify the model so that I stood a chance of being able to analyse it by hand. I decided to model the problem as a beam with 3 supports (the supports being the piles). I then applied point loads for the weight of facade, weight of facade retention system and wind loading and applied UDLs for the self weight of the concrete slab. Using moment distribution I was able to find the reactions at each of the supports and was please to see that they were fairly similar to those that the 3D model was giving me.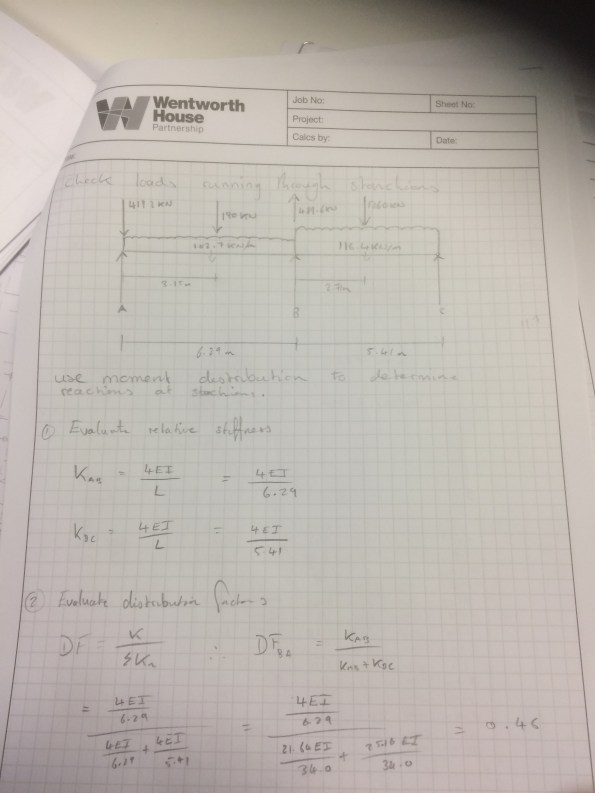
The problem ‘simplified’.
The lesson learned from all this is that what appears to be quite a complex problem can be simplified into a relatively simple problem that can be used to verify real world issues (assuming you can remember how to do a moment distribution…..it took me far longer then i’m proud of. Good job I kept my structures notes!). The basic principles taught on Phase 1 have paid dividends and I am still managing to maintain my thin veneer of competency.
Farewell Multiplex
So my time with Multiplex is at an end. I have been on the Australia 108 project from Feb 16 and have had responsibility in various aspects of the project delivery, and nosed my way into the rest to maximise my learning opportunities. Site activities have included, large bored piles, CFA piles, basement excavations, retaining walls, ground anchors, jet grouting, pile caps and capping beams, pre-cast concrete, post tensioned concrete and lots of reinforced concrete in the form of the core, slabs and columns. I have also been responsible for the design coordination and delivery of the structural steel package, the car slider package as well as early construction methodology for the starburst.
At present state, the core has been poured to Level 6 with a hope to pour to Level 7 pre-Christmas, and the Level 2 slab has just been completed.


My time on A108 has been eventful and rewarding yet frustrating and challenging at the same time. It has been an invaluable opportunity with many positive experiences as well as some negative but I have learned something from each and I am a better engineer, leader and manager because of it. Phase 2 has presented significant opportunities to broaden my experience, test my technical knowledge, managerial and communication abilities.
Recommendations
To Phase 1 students I would recommend the following:
- Project selection – understand the project program and where the project will be within that program during your time on site. This will dictate what opportunities are available to you.
- Ownership – MPX struggled to understand the aim of my attachment and I have strongly had to drive my attachment to make certain I got the depth and breadth of experience I needed.
- Review – genuinely use the AERs and CPD record to review your journey to achieving your attributes. Where you have gaps, seek out other opportunities and experiences to ensure you get the most of your attachment.
- Preparation – trust that Phase 1 prepares you well, because it does.
