Archive
Site Two Fifty One – Concrete
Site Two Fifty One – Concrete
This week the concrete pour for the first section of capping beam was completed. After the discussions on my last blog, the pour size was reduced to 16.6m (from 40m).
Formwork. The shuttering worked which was pleasing because we had brought the pour forward a day due to a lack of concrete availability on a Friday before a long weekend and so it was somewhat manic to get things ready in time. It did mean the grout check line was being installed while the concreting started!
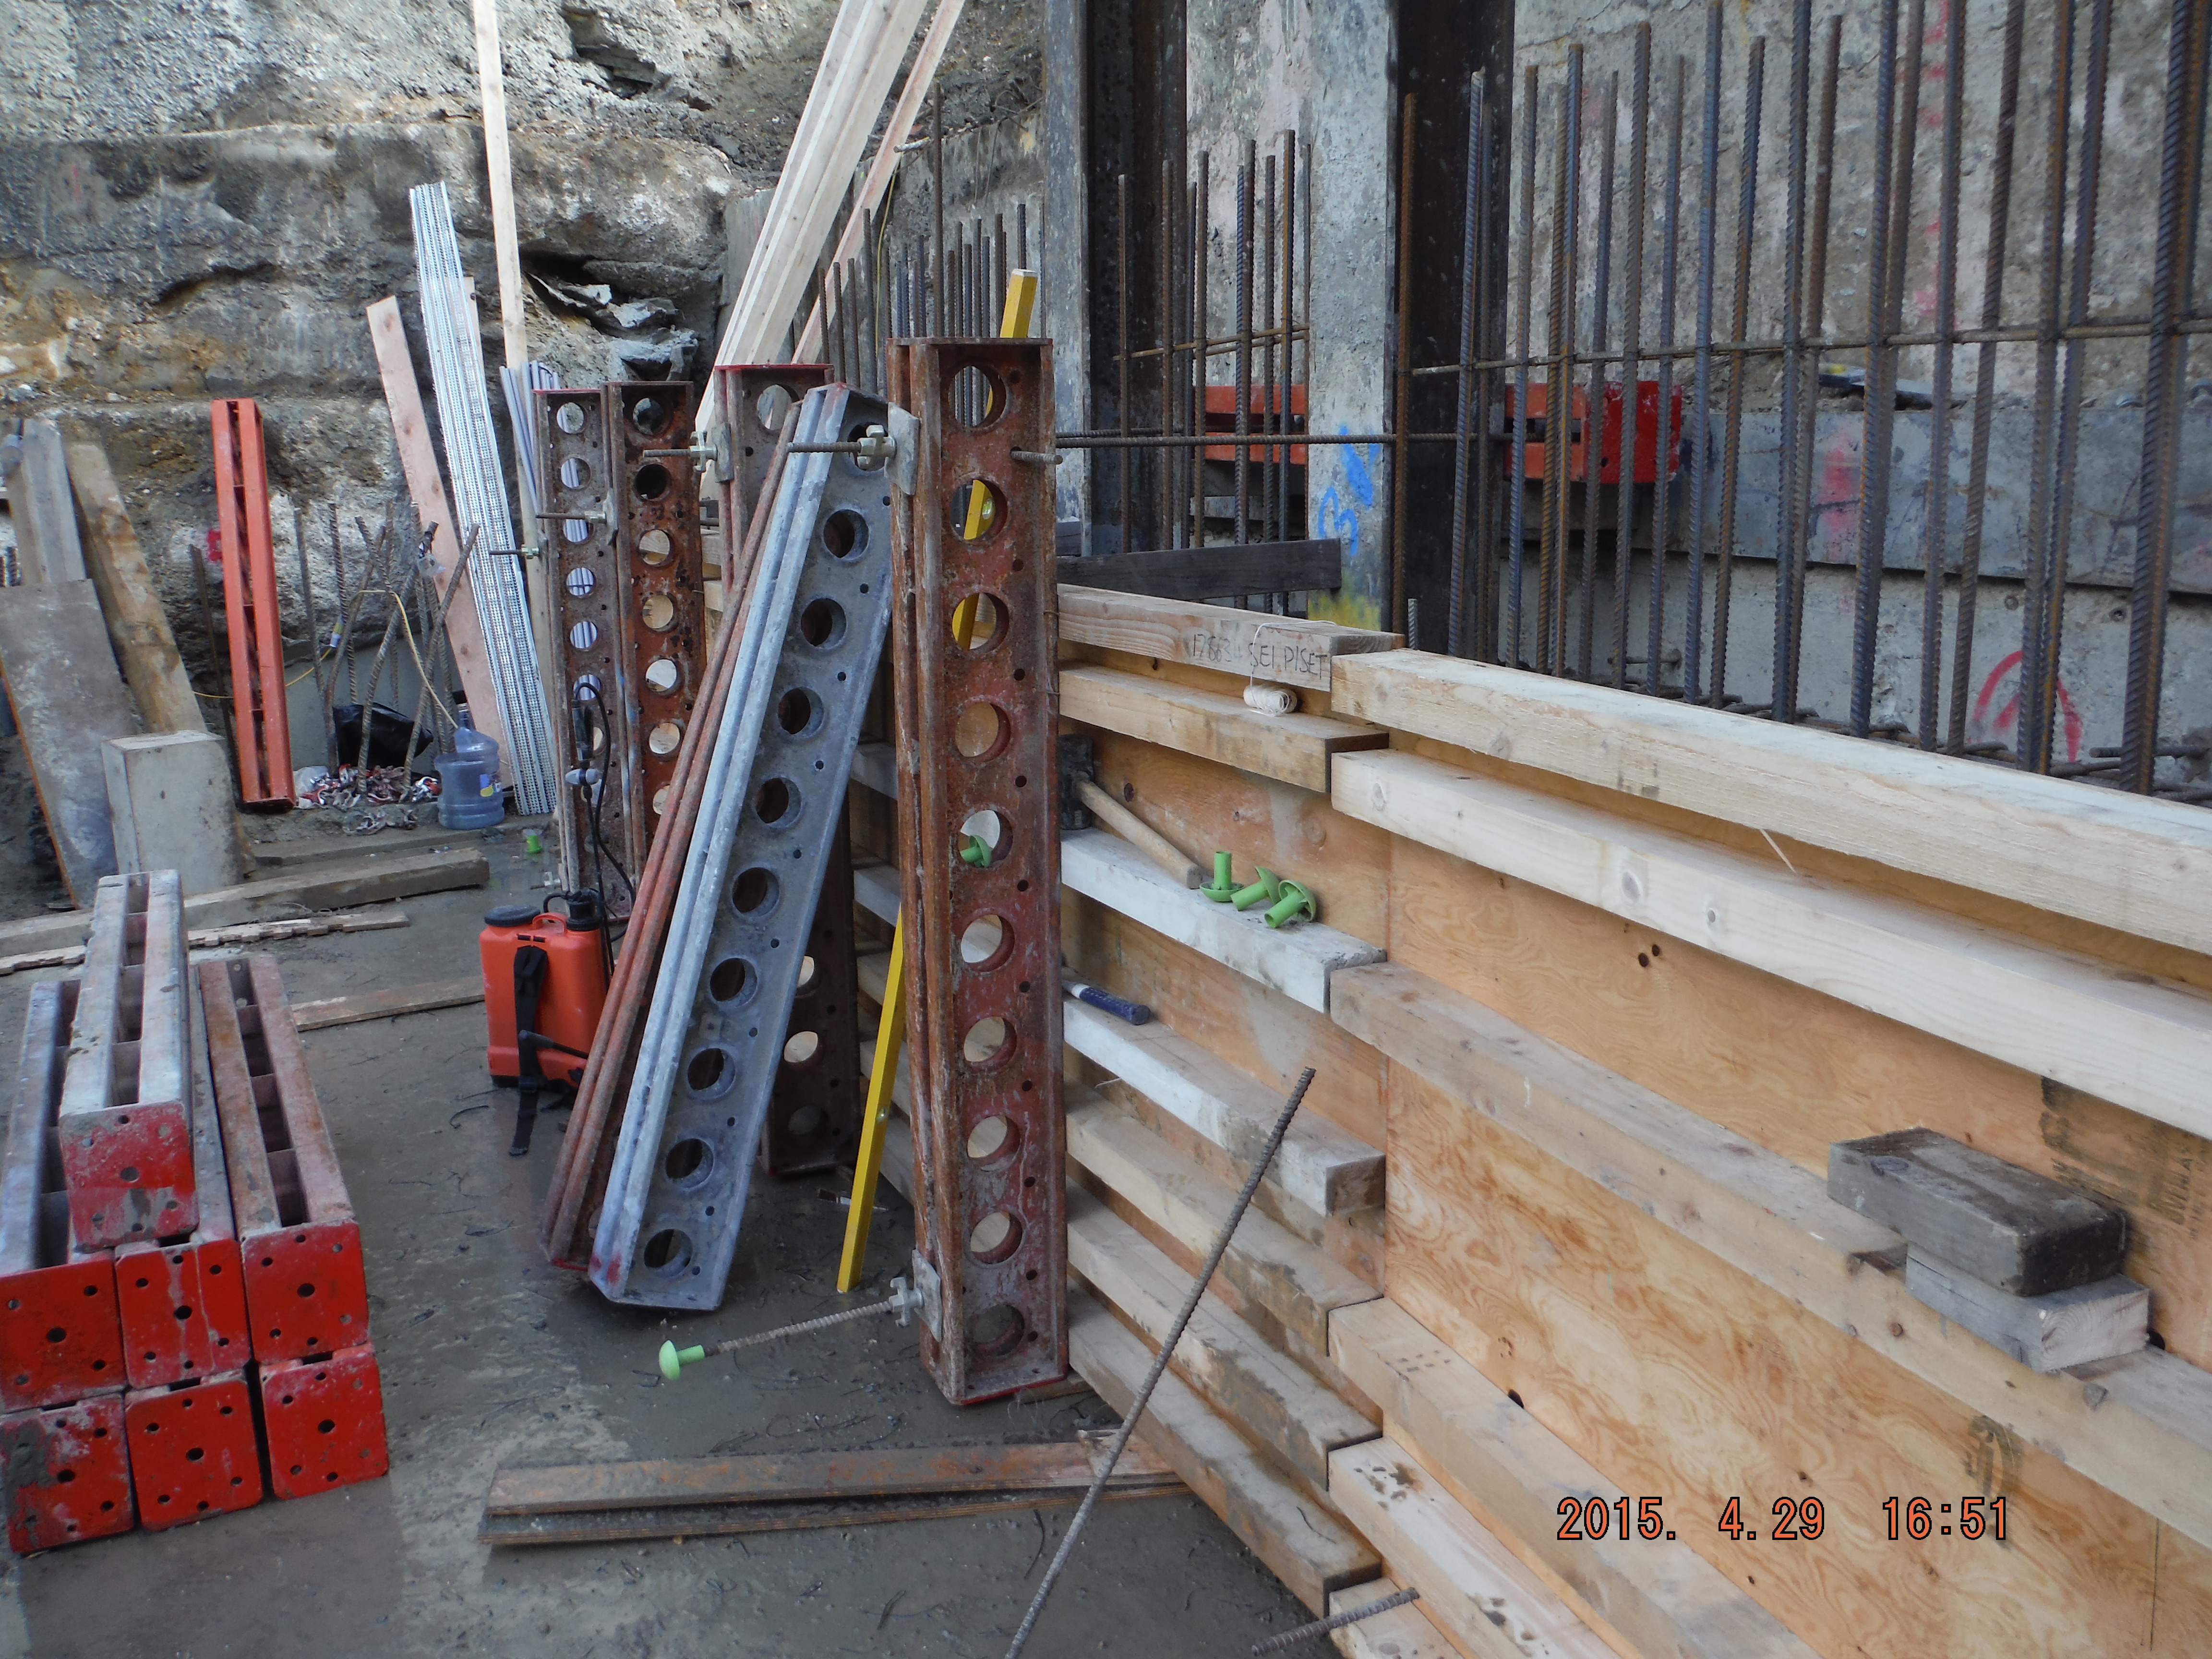
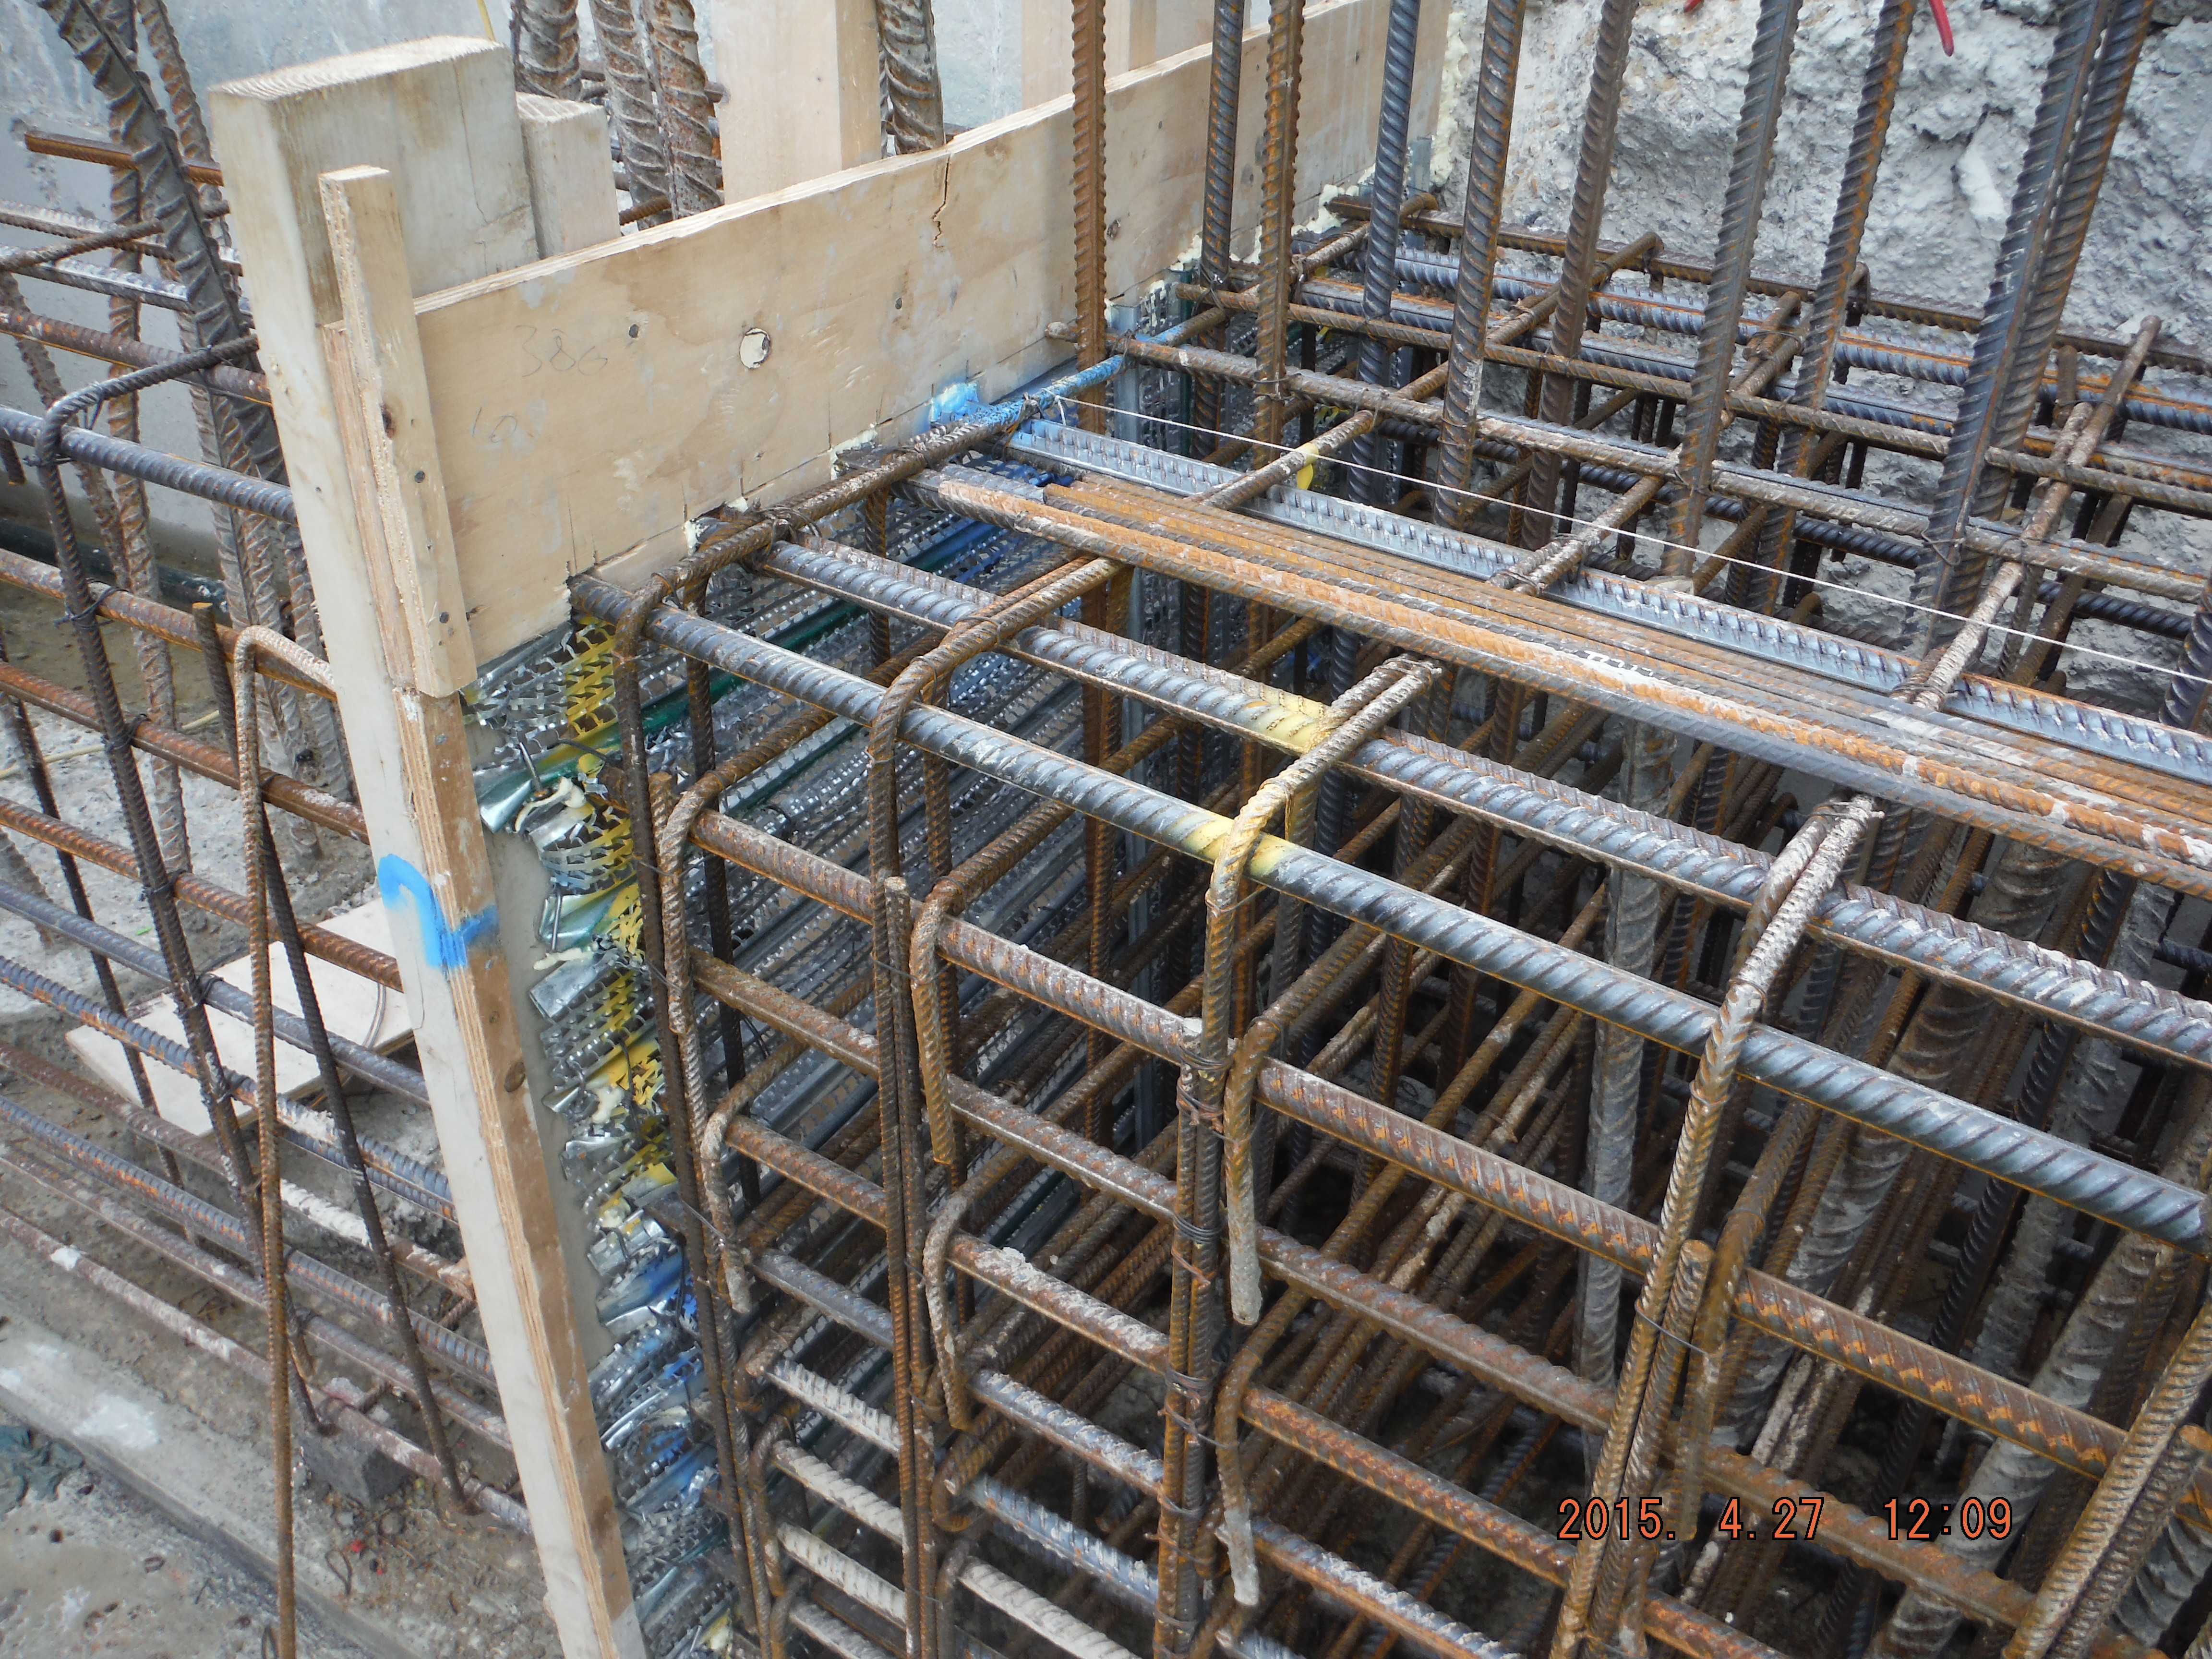
Formwork construction. Waler beams only 100mm deep, therefore smaller spacing at bottom to remain within moment capacity of the section. Soldiers at 1.2m spacing to align with male pile reinforcement which the dywidag ties from.
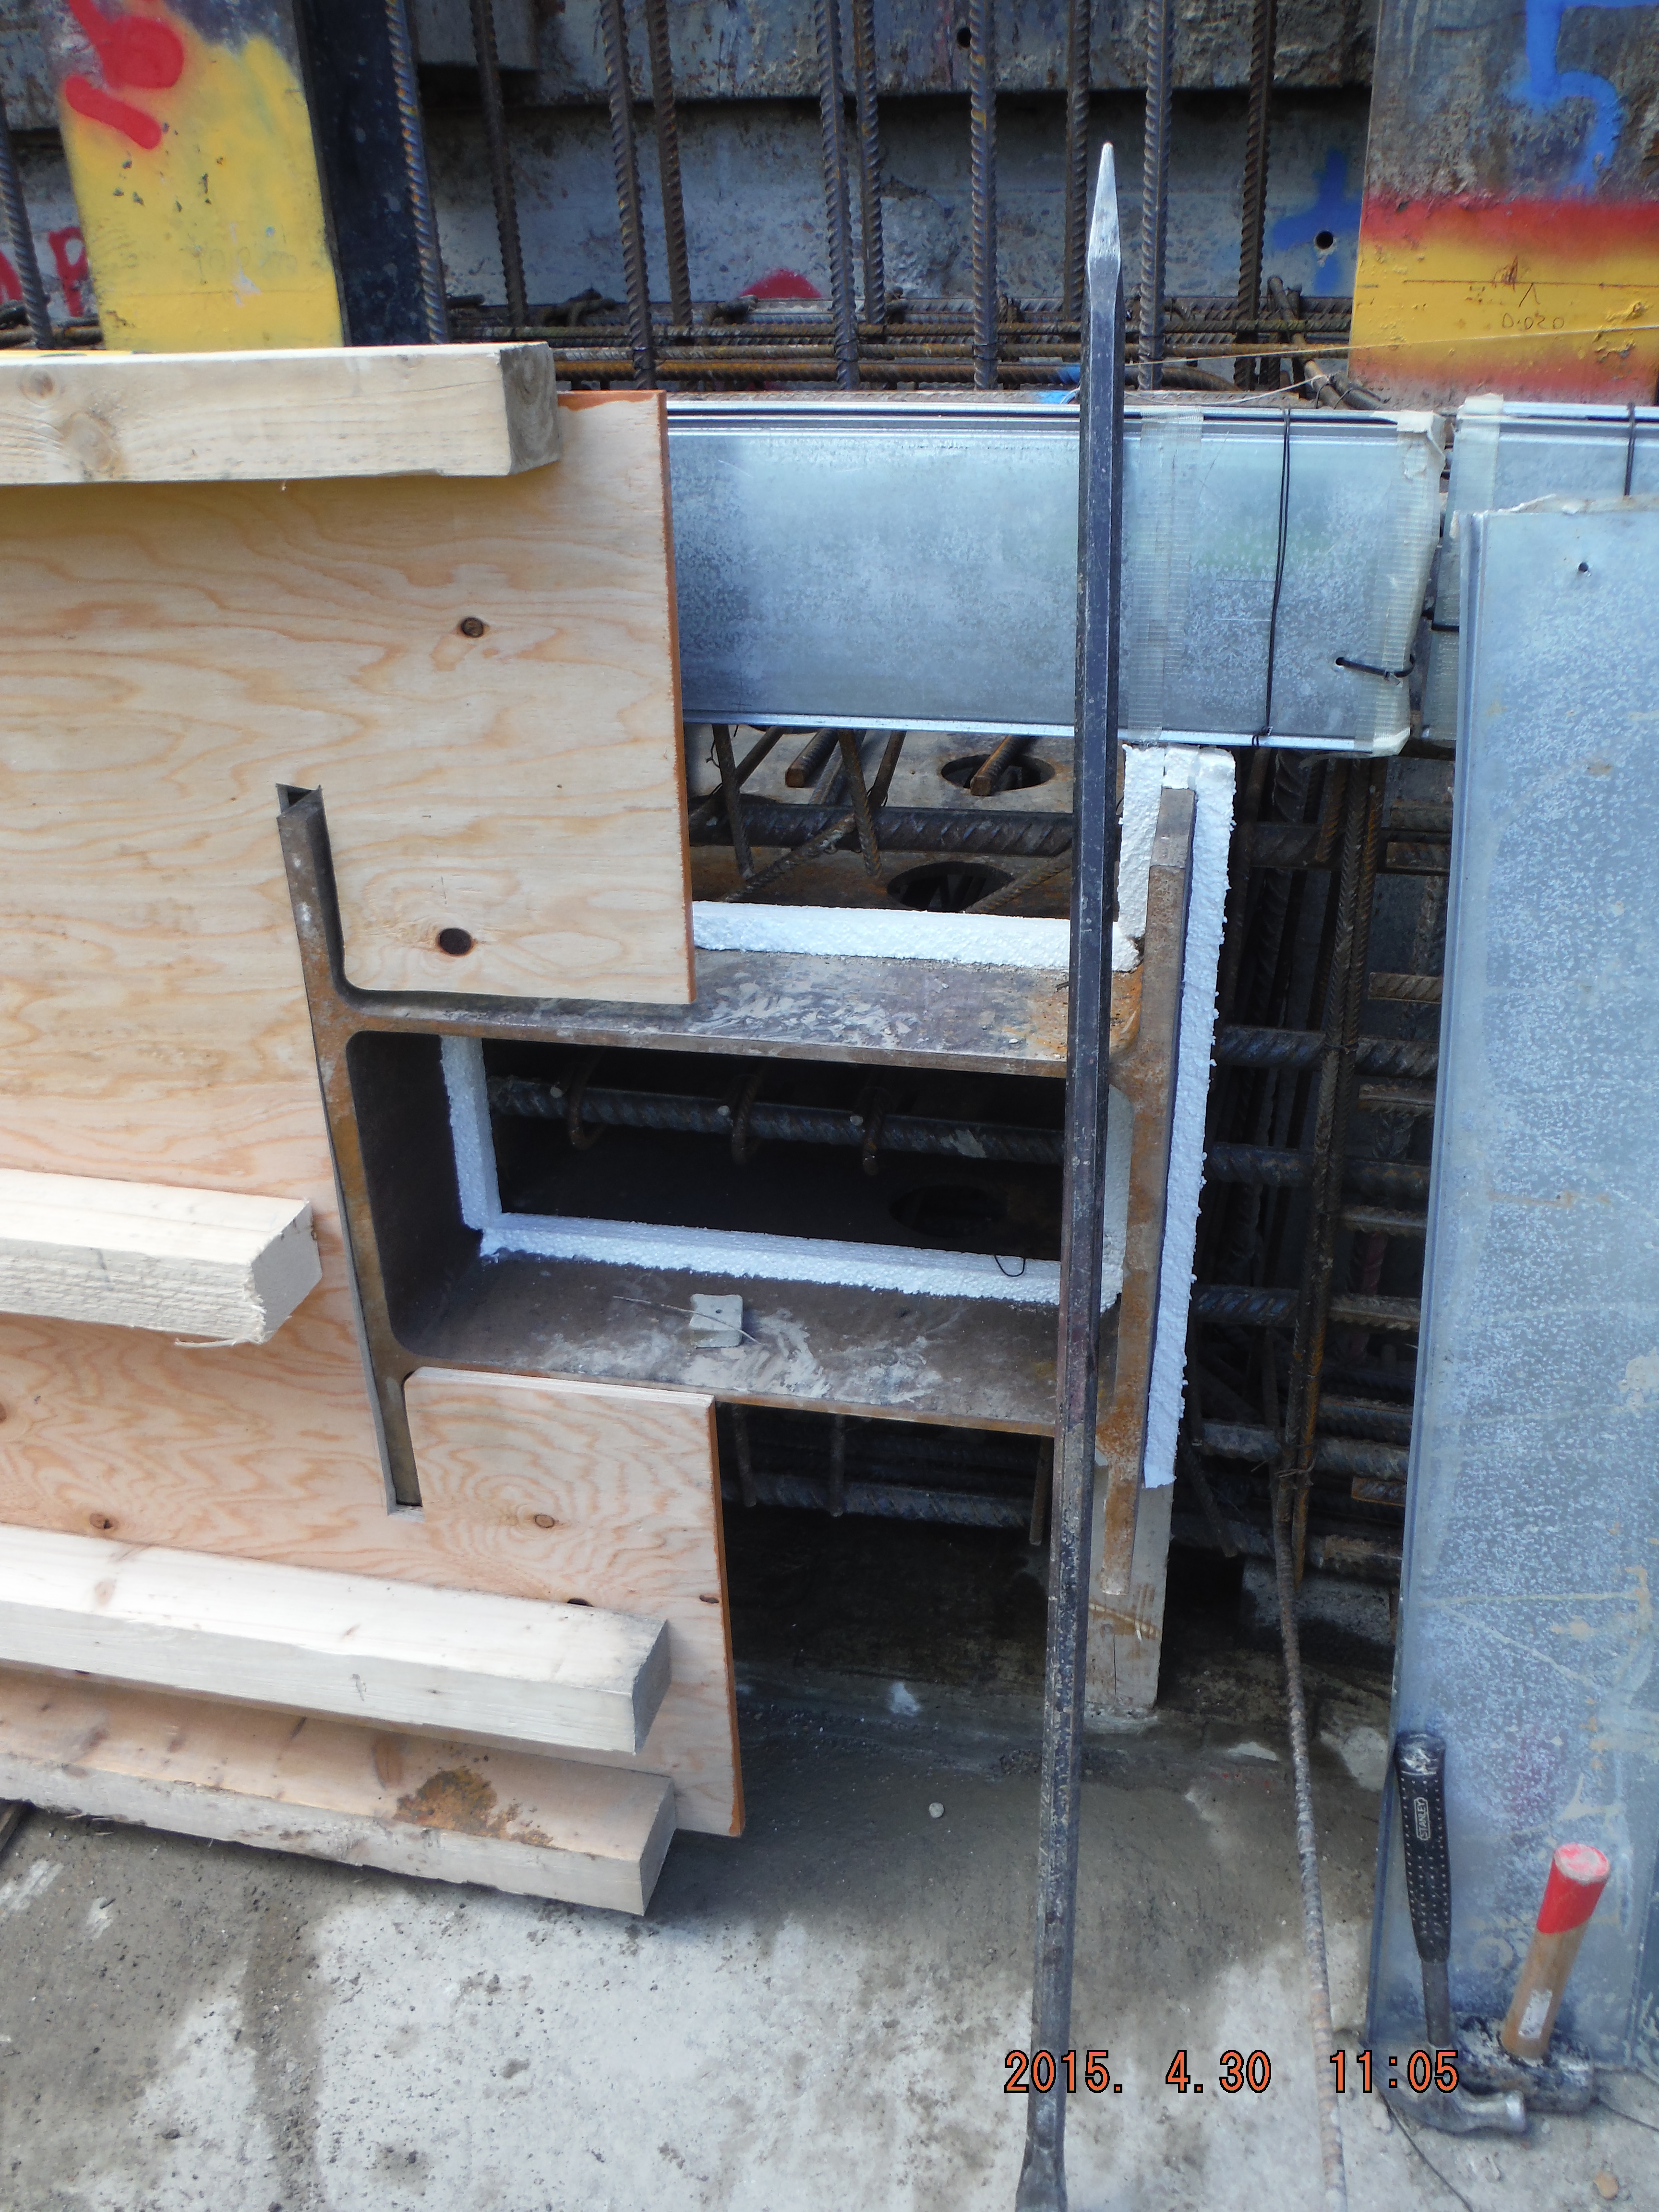
Polystyrene used as a 25mm rebate to enable the shear stubs to be burnt off after use and the concrete made good.
Pete – use of hirib below in a stop end. The expanded metal helps form a rough edge to make a joint for the next pour. This only works for Level 1 waterproof sections (see below).
Hirib stop end – mechanical means to form a cold construction joint eliminating the requirement for scabbling.
Delivery method. The method of delivery was via a rolling skip with tremie pipe and crane. This was used because 1. The crane was available, 2. There was no space to get a concrete wagon or excavator near to the beam.
Pumping was also considered but would be very expensive for a small pour (circa £12k for 1 day hire).
Delivery by skip actually meant the pour was very controlled (reduced pressures on formwork) and safe for the operatives doing the concreting because of its controllability.
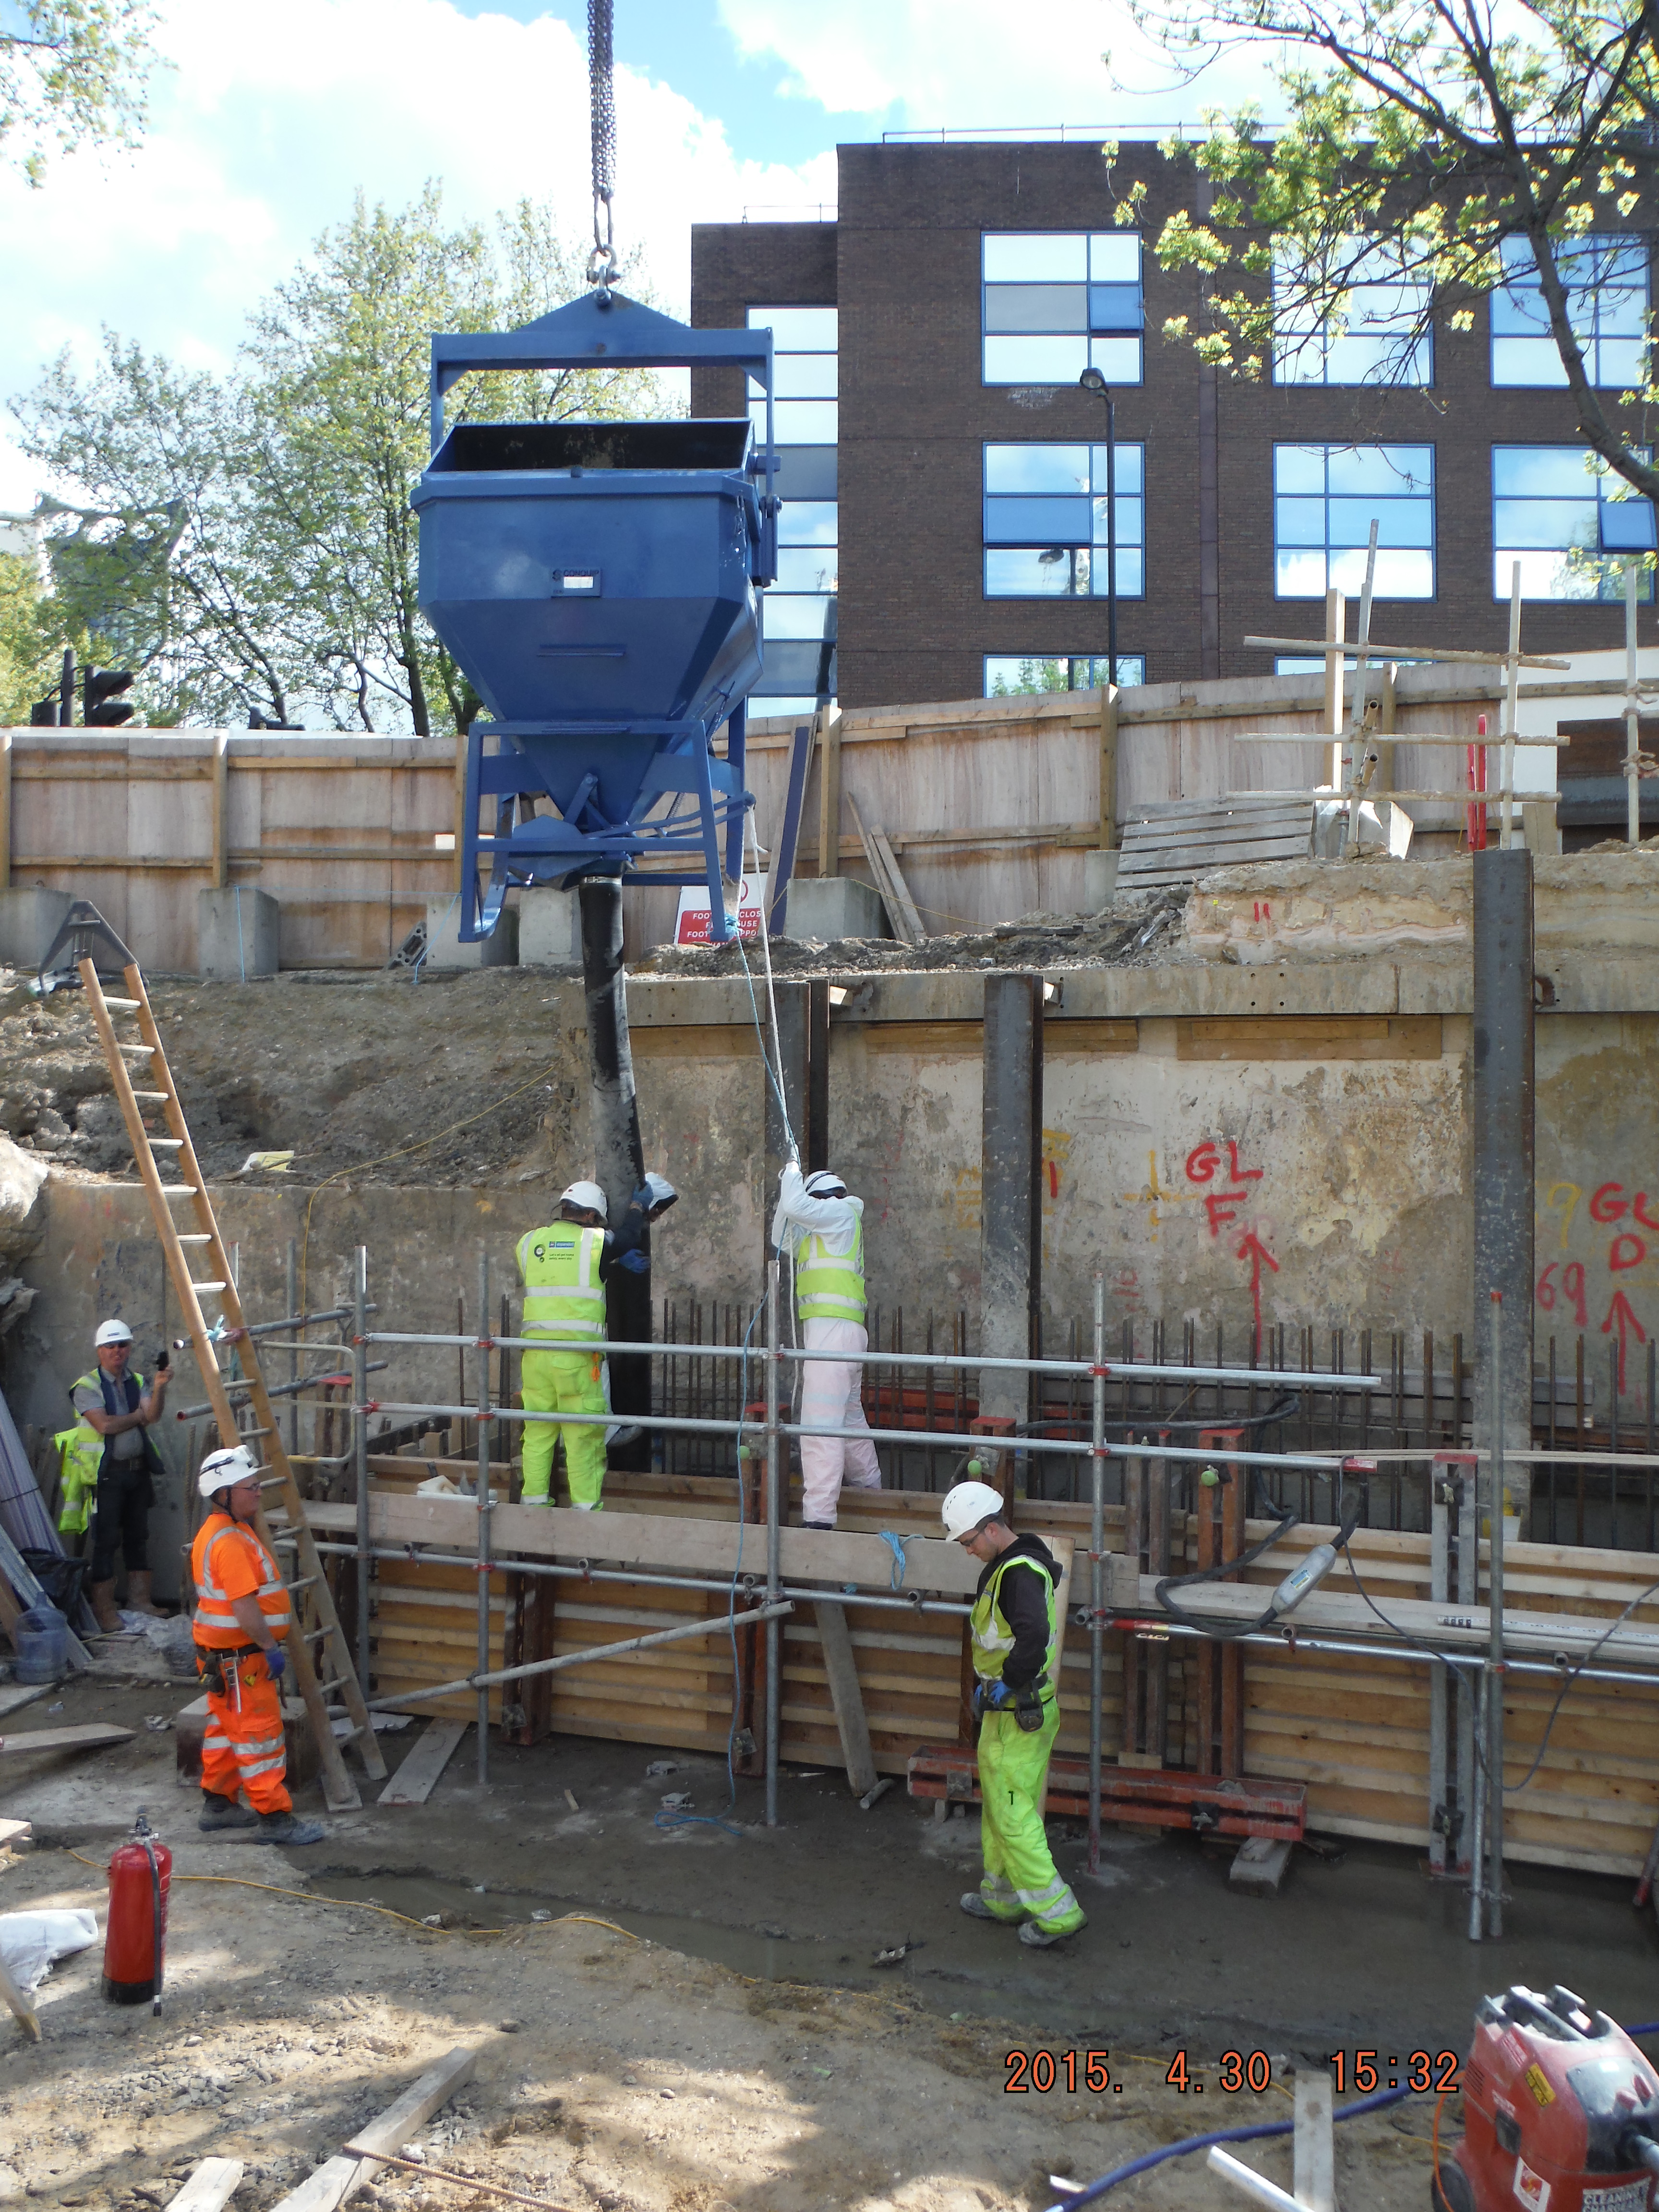
Concrete delivery by skip with 3m tremie pipe.
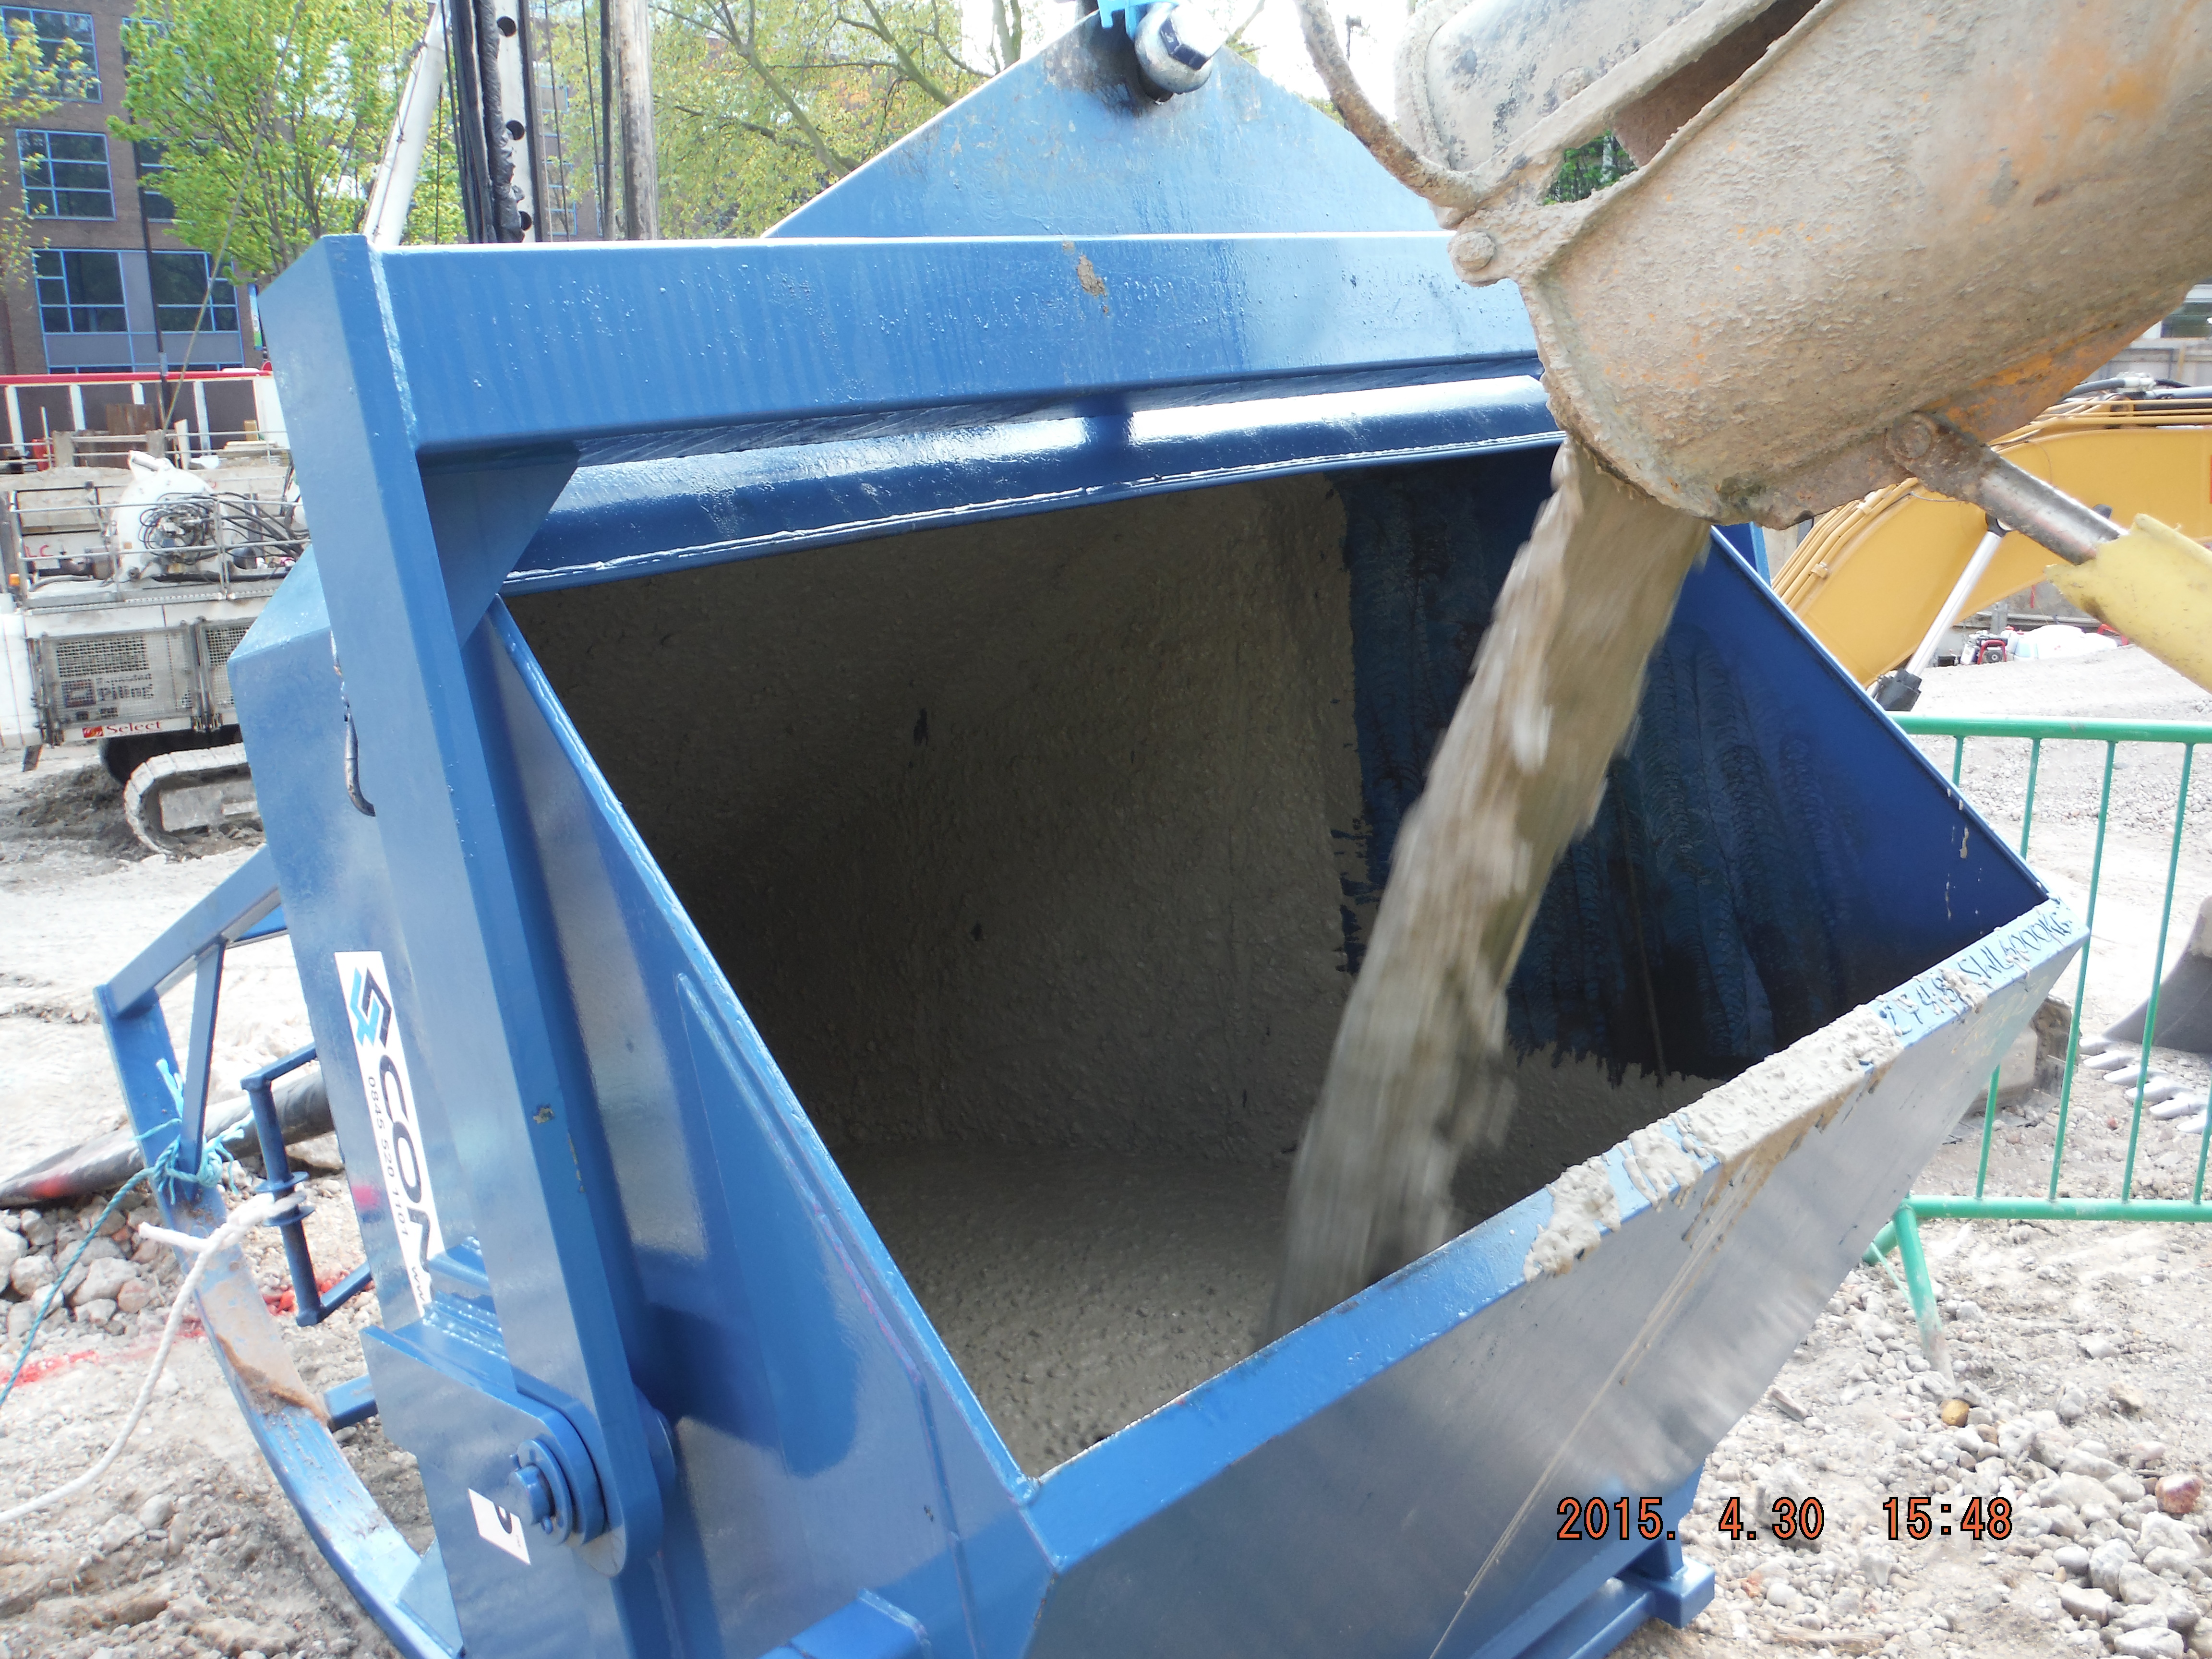
Rolling skip means it is easy to discharge into from the concrete wagon.
Curing. The top of the capping beam is going to have a retaining wall constructed on top of it, hence the starter bars. The inner side of the capping beam will form the start of the basement slab. Therefore half of beam needed to be retarded, half cured. The point of the retardant was to reduce the speed of curing to allow the beam to be jet-washed the following day in order to roughen the surface to make better interlock for the future wall pour.
Near surface – cured for part of future basement level 1 slab. Far surface retarded for future retaining wall.
Cracks. The concrete mix and steel design is meant to help reduce cracking (maximum crack width allowable: 0.2mm), although only very limited trials have been done on this so it will be interesting to see what we get. The waterproofing requirement of the beam varies between level 1 (beading of water allowed on inside) to level 3 (completely waterproof). However crack width is limited to 0.2mm for the whole perimeter. The only difference is the level 3 sections are going to have a hydrophilic strip (between piles and bottom of capping beam) and an “Adprufe” additive in the concrete mix to make the beam waterproof.
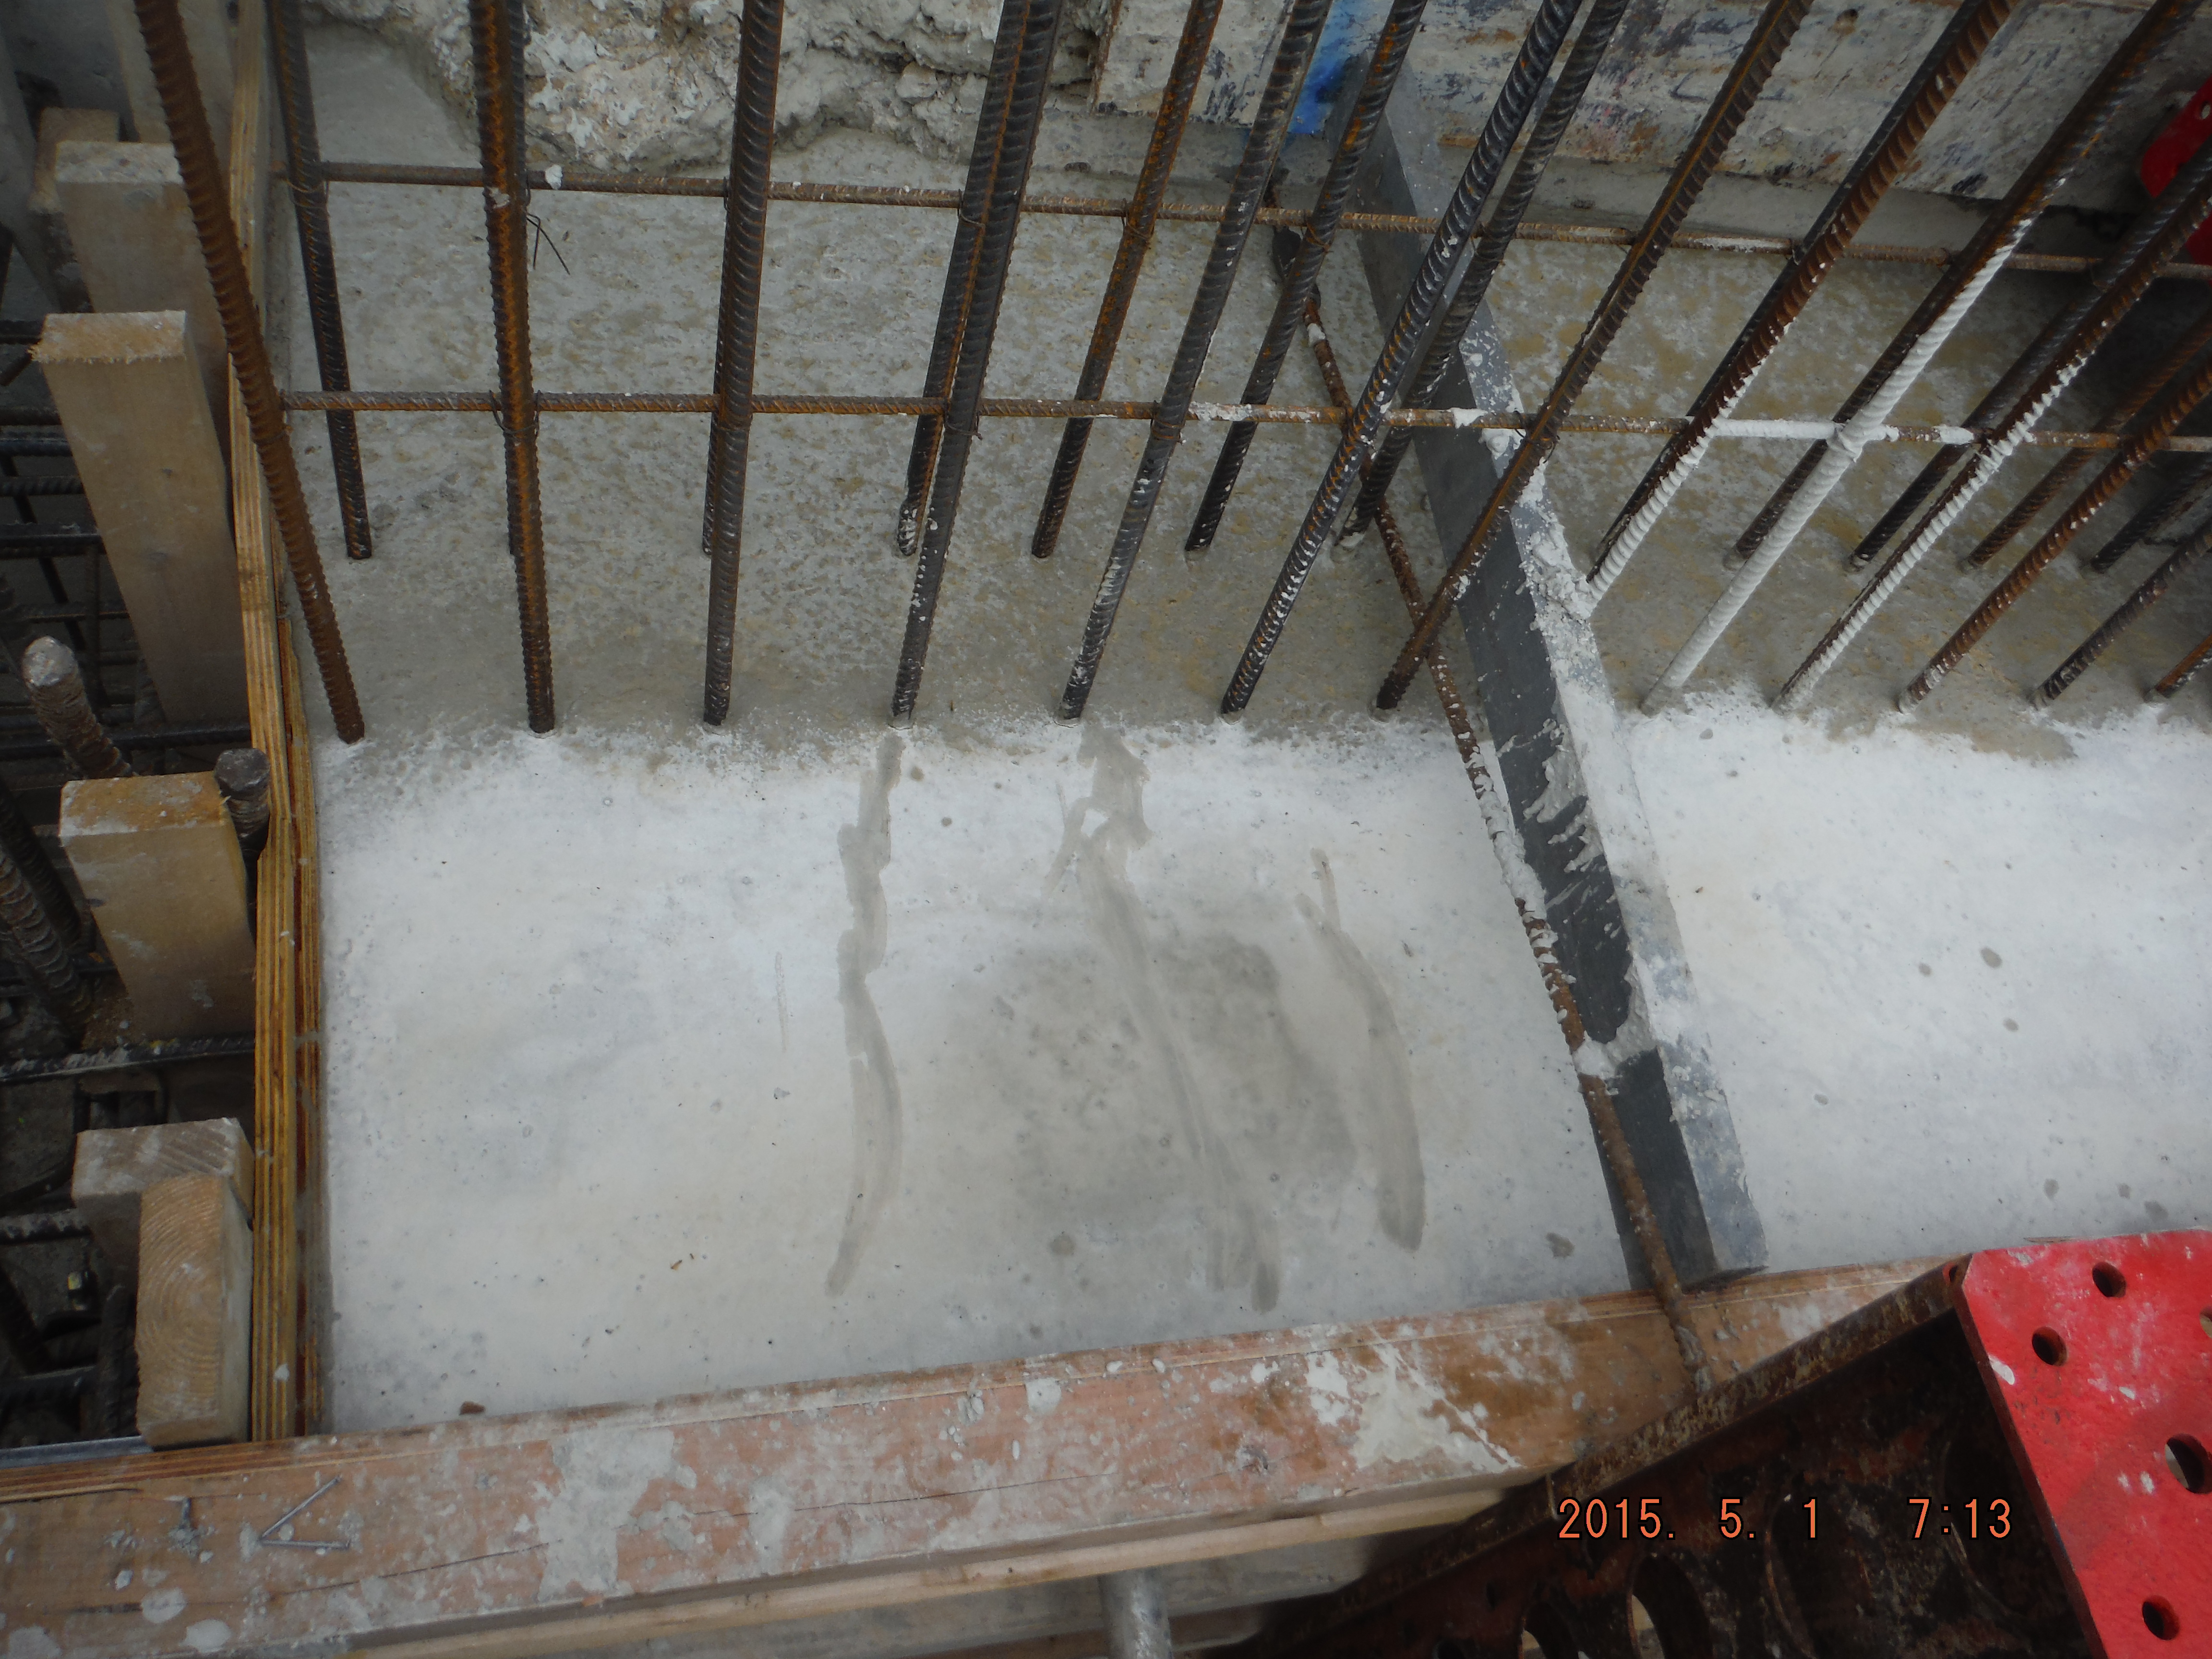
It is likely non-structural cracks will form (which cause durability issues because of reinforcement corrosion) within a day of the pour. The cover has been set at 55mm which means the as cracks reduce in width with depth, the reinforcement should be protected. Applying curing agent to the beam aims to protect it from rapid drying out of the concrete and therefore reduce cracking. Before hardening of the concrete plastic cracks may well form due to either plastic shrinkage or plastic settlement. It looks as though plastic settlement around the reinforcement due to “bleeding” (water rising to the beam surface shortly after compaction due to heavier mix constituents moving down due to gravity) has already occurred, although very minor at this stage.

Plastic settlement crack forming over link reinforcement.
Time will tell regarding the growth or healing of the cracks and so I will monitor the situation after the bank holiday.
It is now a case of: underpin, break piles, reinforcement, formwork, concrete and repeat…
