Site Two Fifty One – Concrete
Site Two Fifty One – Concrete
This week the concrete pour for the first section of capping beam was completed. After the discussions on my last blog, the pour size was reduced to 16.6m (from 40m).
Formwork. The shuttering worked which was pleasing because we had brought the pour forward a day due to a lack of concrete availability on a Friday before a long weekend and so it was somewhat manic to get things ready in time. It did mean the grout check line was being installed while the concreting started!
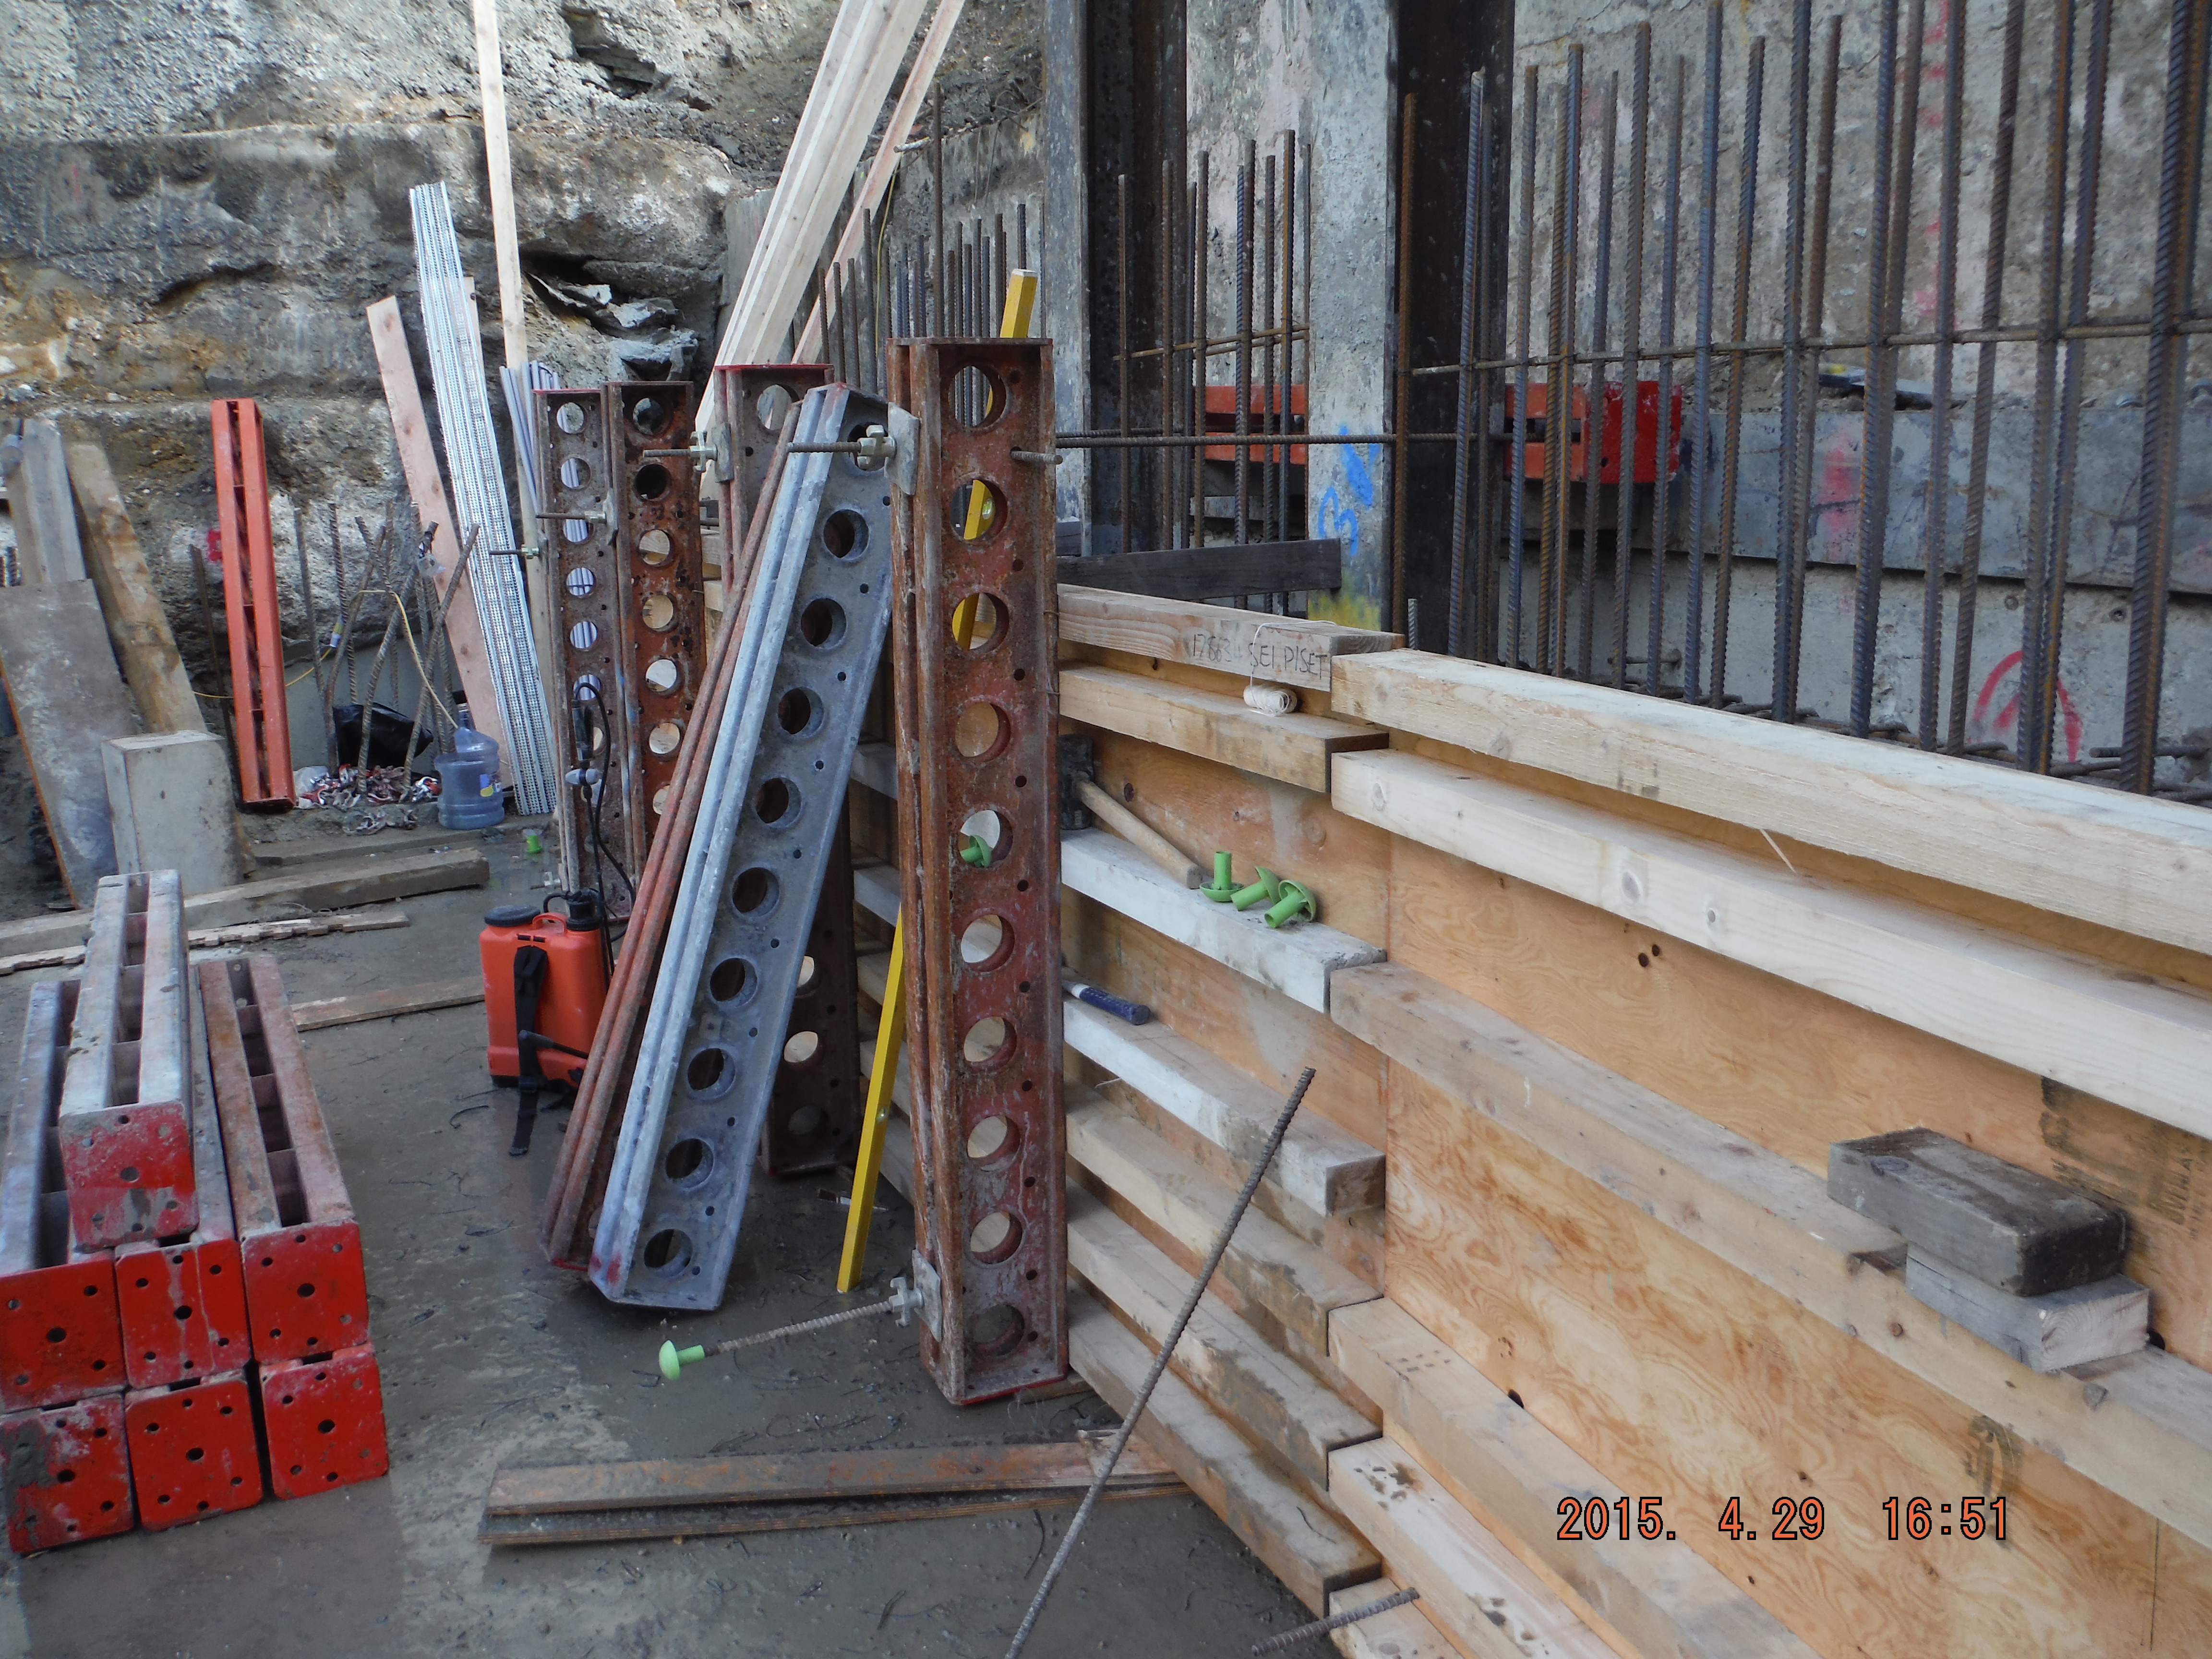
Formwork construction. Waler beams only 100mm deep, therefore smaller spacing at bottom to remain within moment capacity of the section. Soldiers at 1.2m spacing to align with male pile reinforcement which the dywidag ties from.
Polystyrene used as a 25mm rebate to enable the shear stubs to be burnt off after use and the concrete made good.
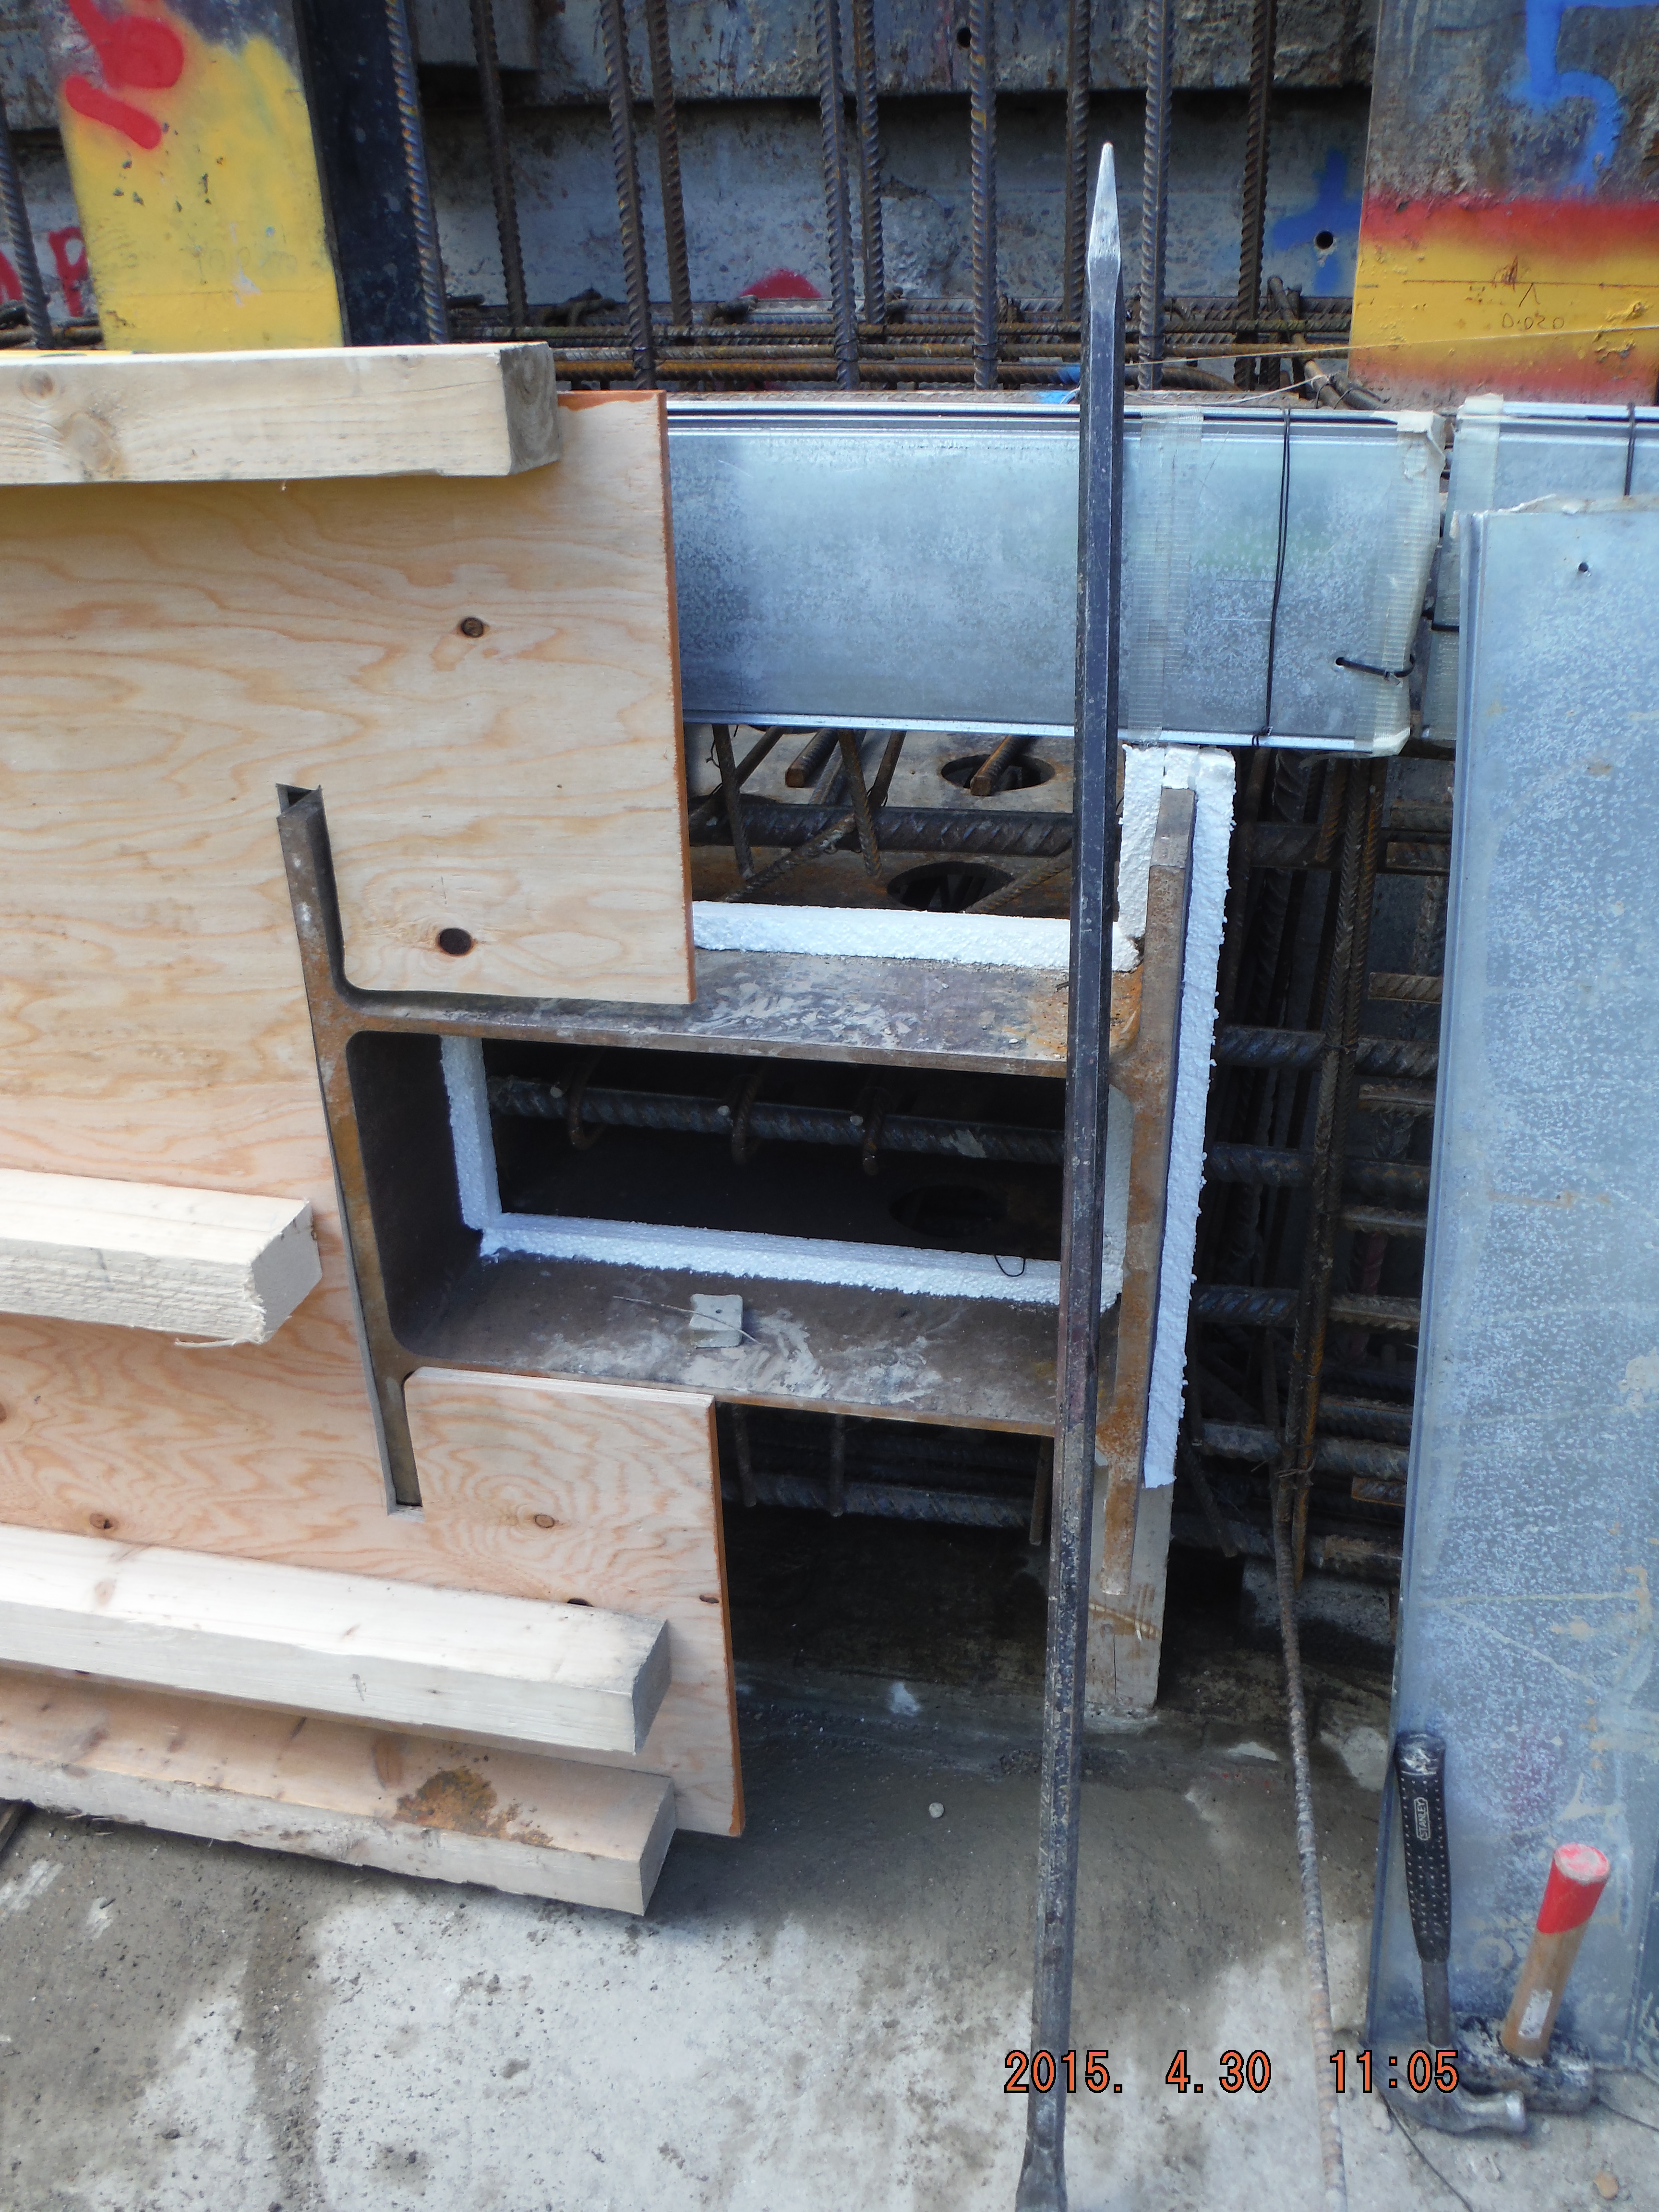
Pete – use of hirib below in a stop end. The expanded metal helps form a rough edge to make a joint for the next pour. This only works for Level 1 waterproof sections (see below).
Hirib stop end – mechanical means to form a cold construction joint eliminating the requirement for scabbling.
Delivery method. The method of delivery was via a rolling skip with tremie pipe and crane. This was used because 1. The crane was available, 2. There was no space to get a concrete wagon or excavator near to the beam.
Pumping was also considered but would be very expensive for a small pour (circa £12k for 1 day hire).
Delivery by skip actually meant the pour was very controlled (reduced pressures on formwork) and safe for the operatives doing the concreting because of its controllability.
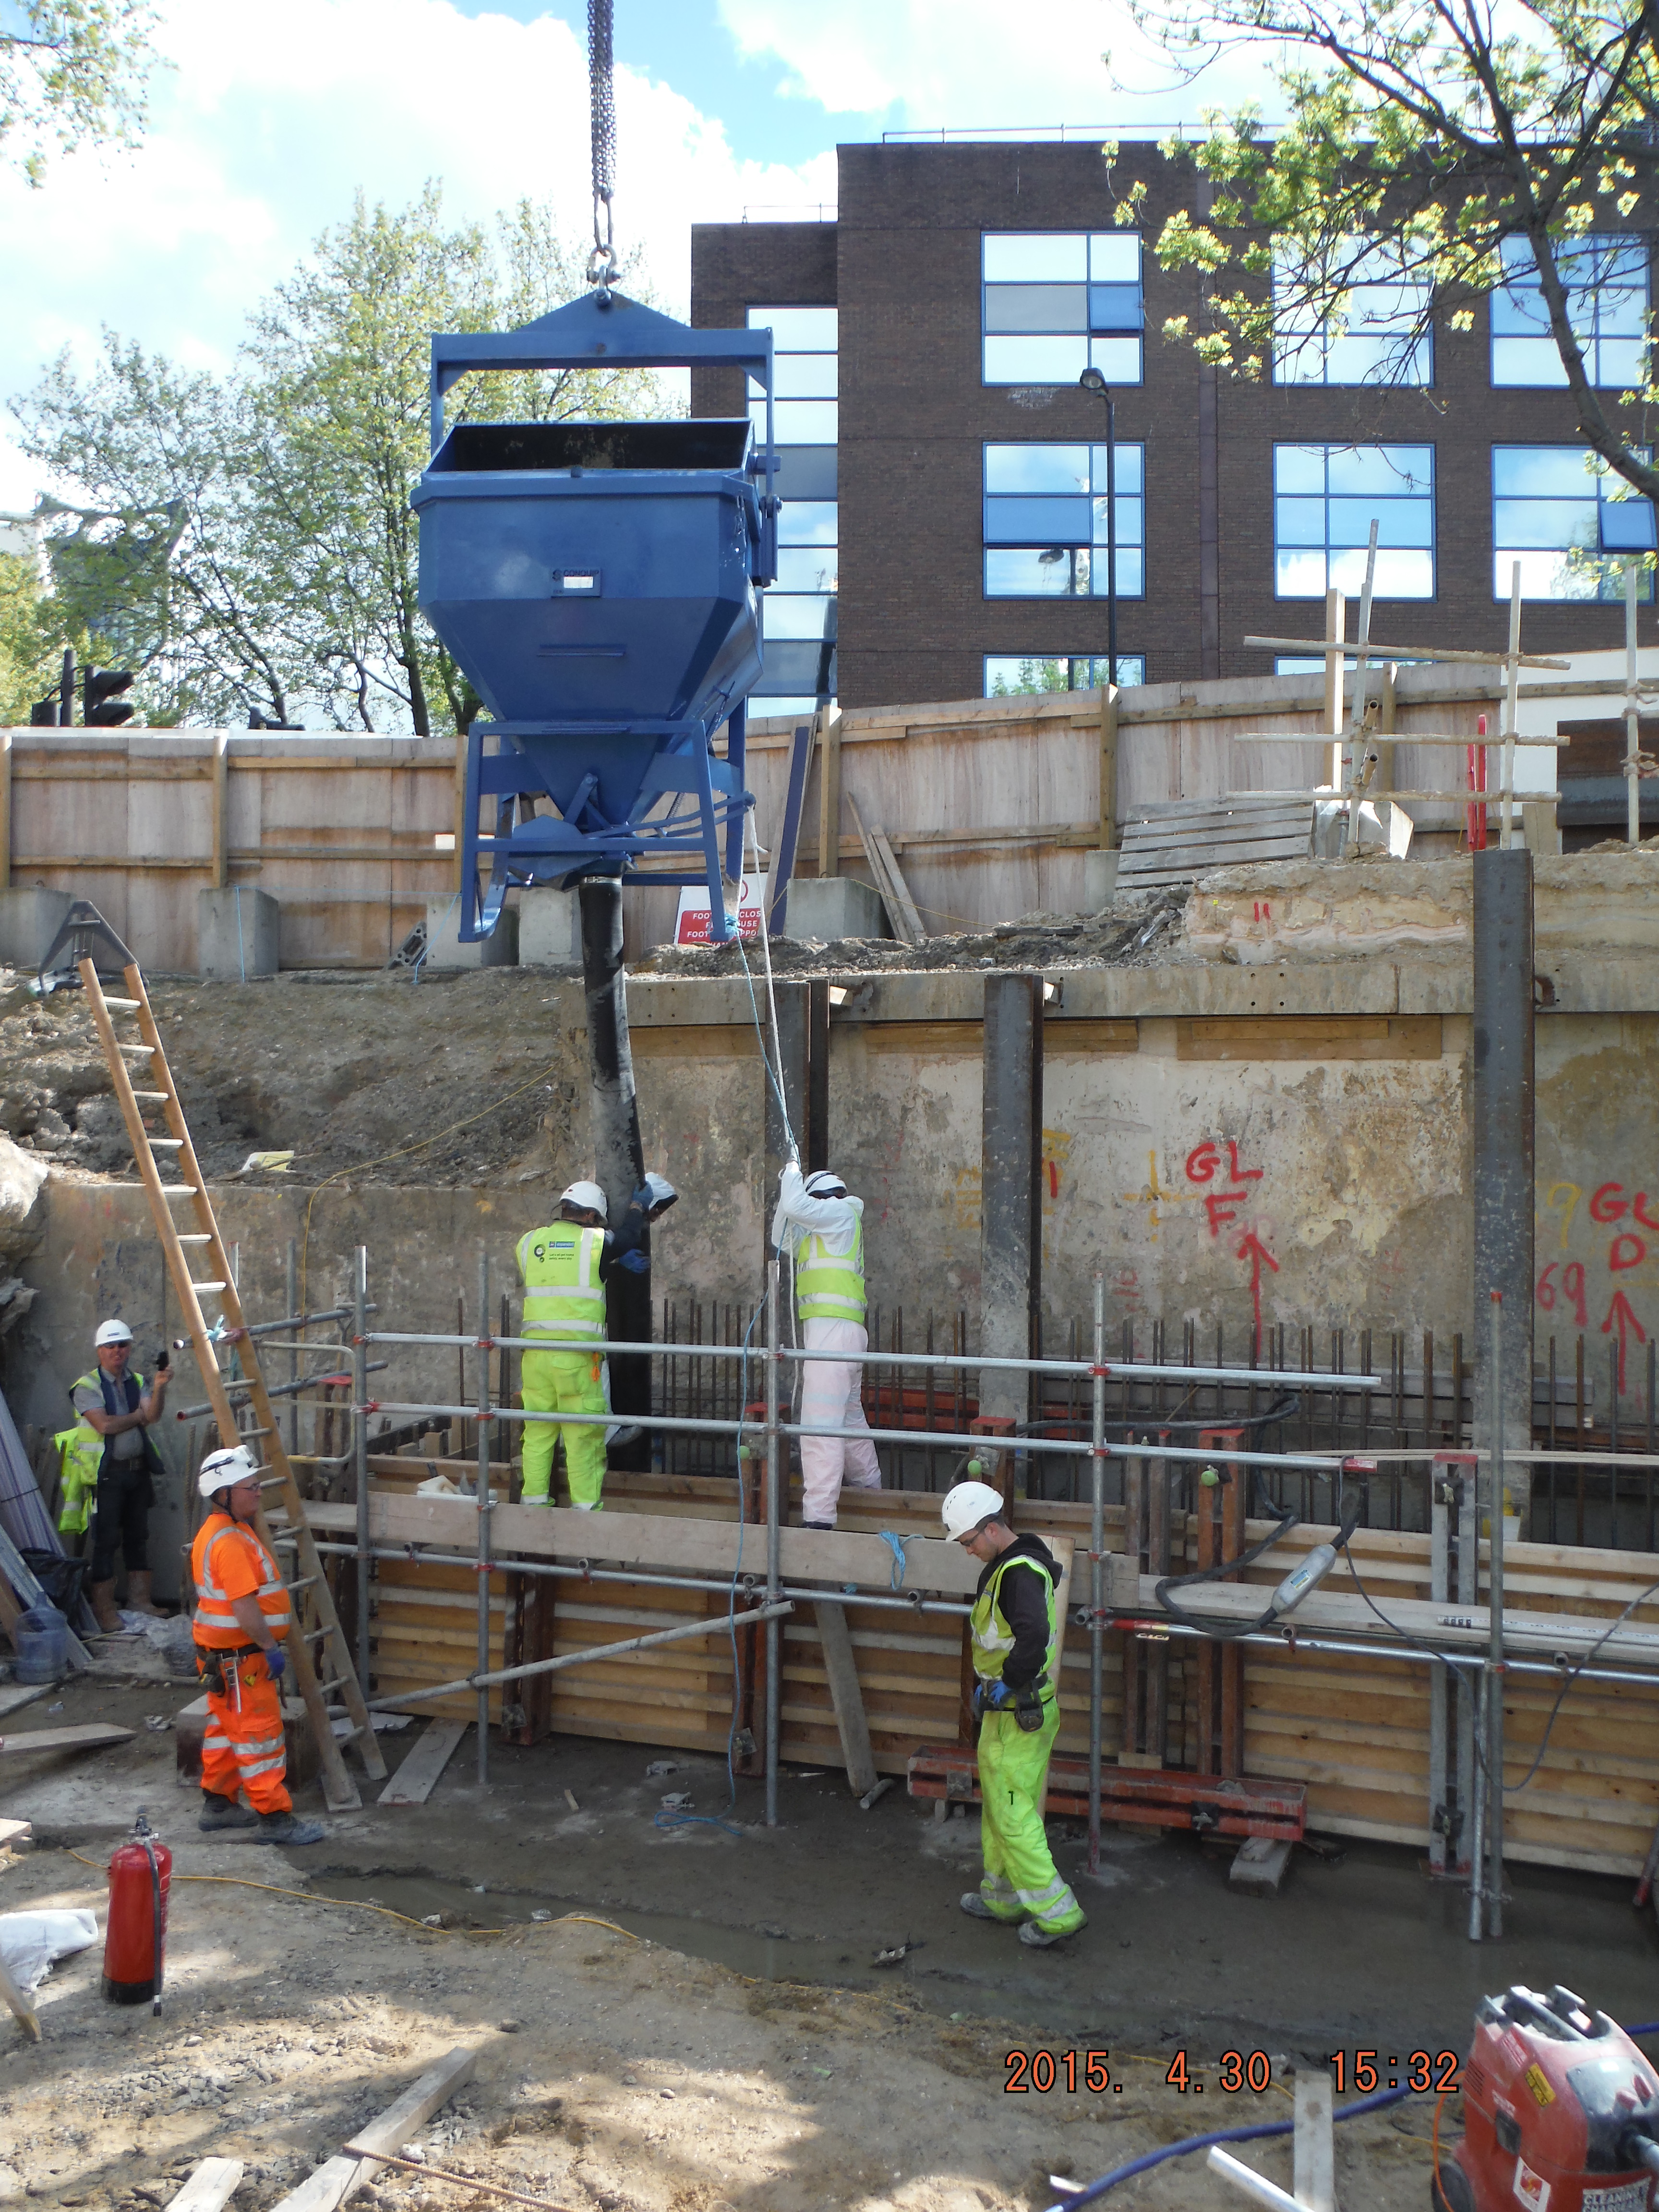
Concrete delivery by skip with 3m tremie pipe.
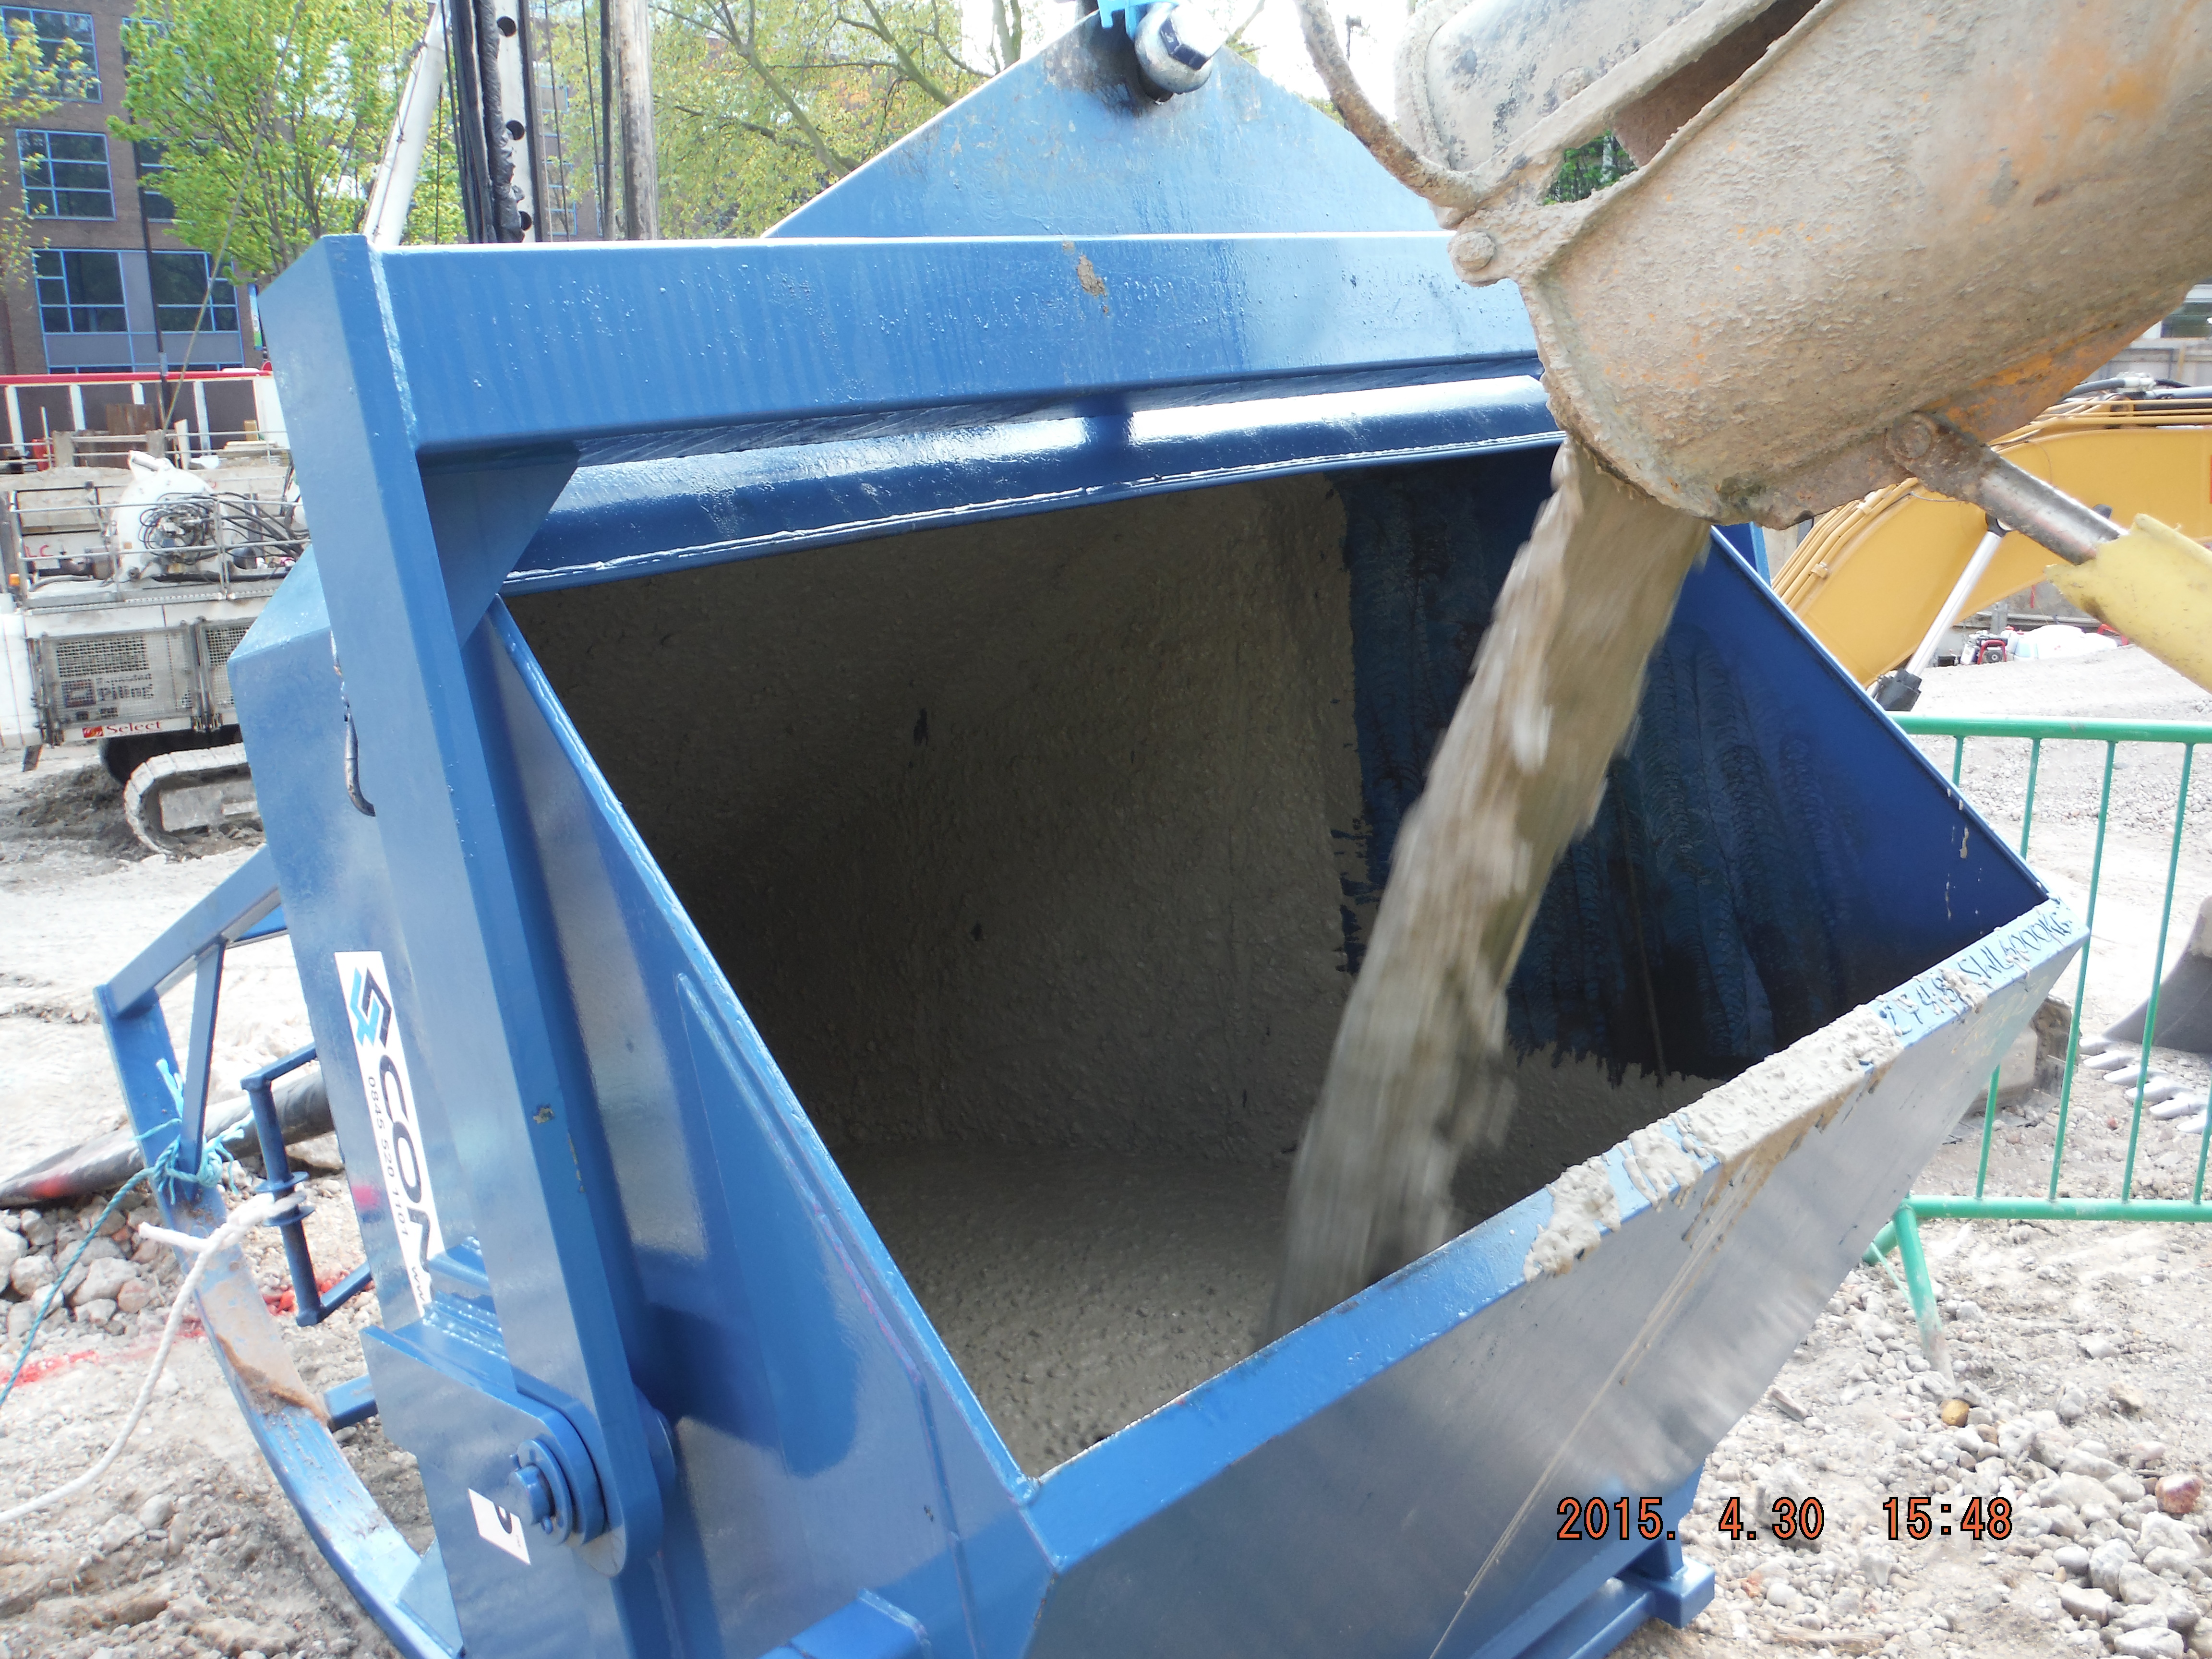
Rolling skip means it is easy to discharge into from the concrete wagon.
Curing. The top of the capping beam is going to have a retaining wall constructed on top of it, hence the starter bars. The inner side of the capping beam will form the start of the basement slab. Therefore half of beam needed to be retarded, half cured. The point of the retardant was to reduce the speed of curing to allow the beam to be jet-washed the following day in order to roughen the surface to make better interlock for the future wall pour.
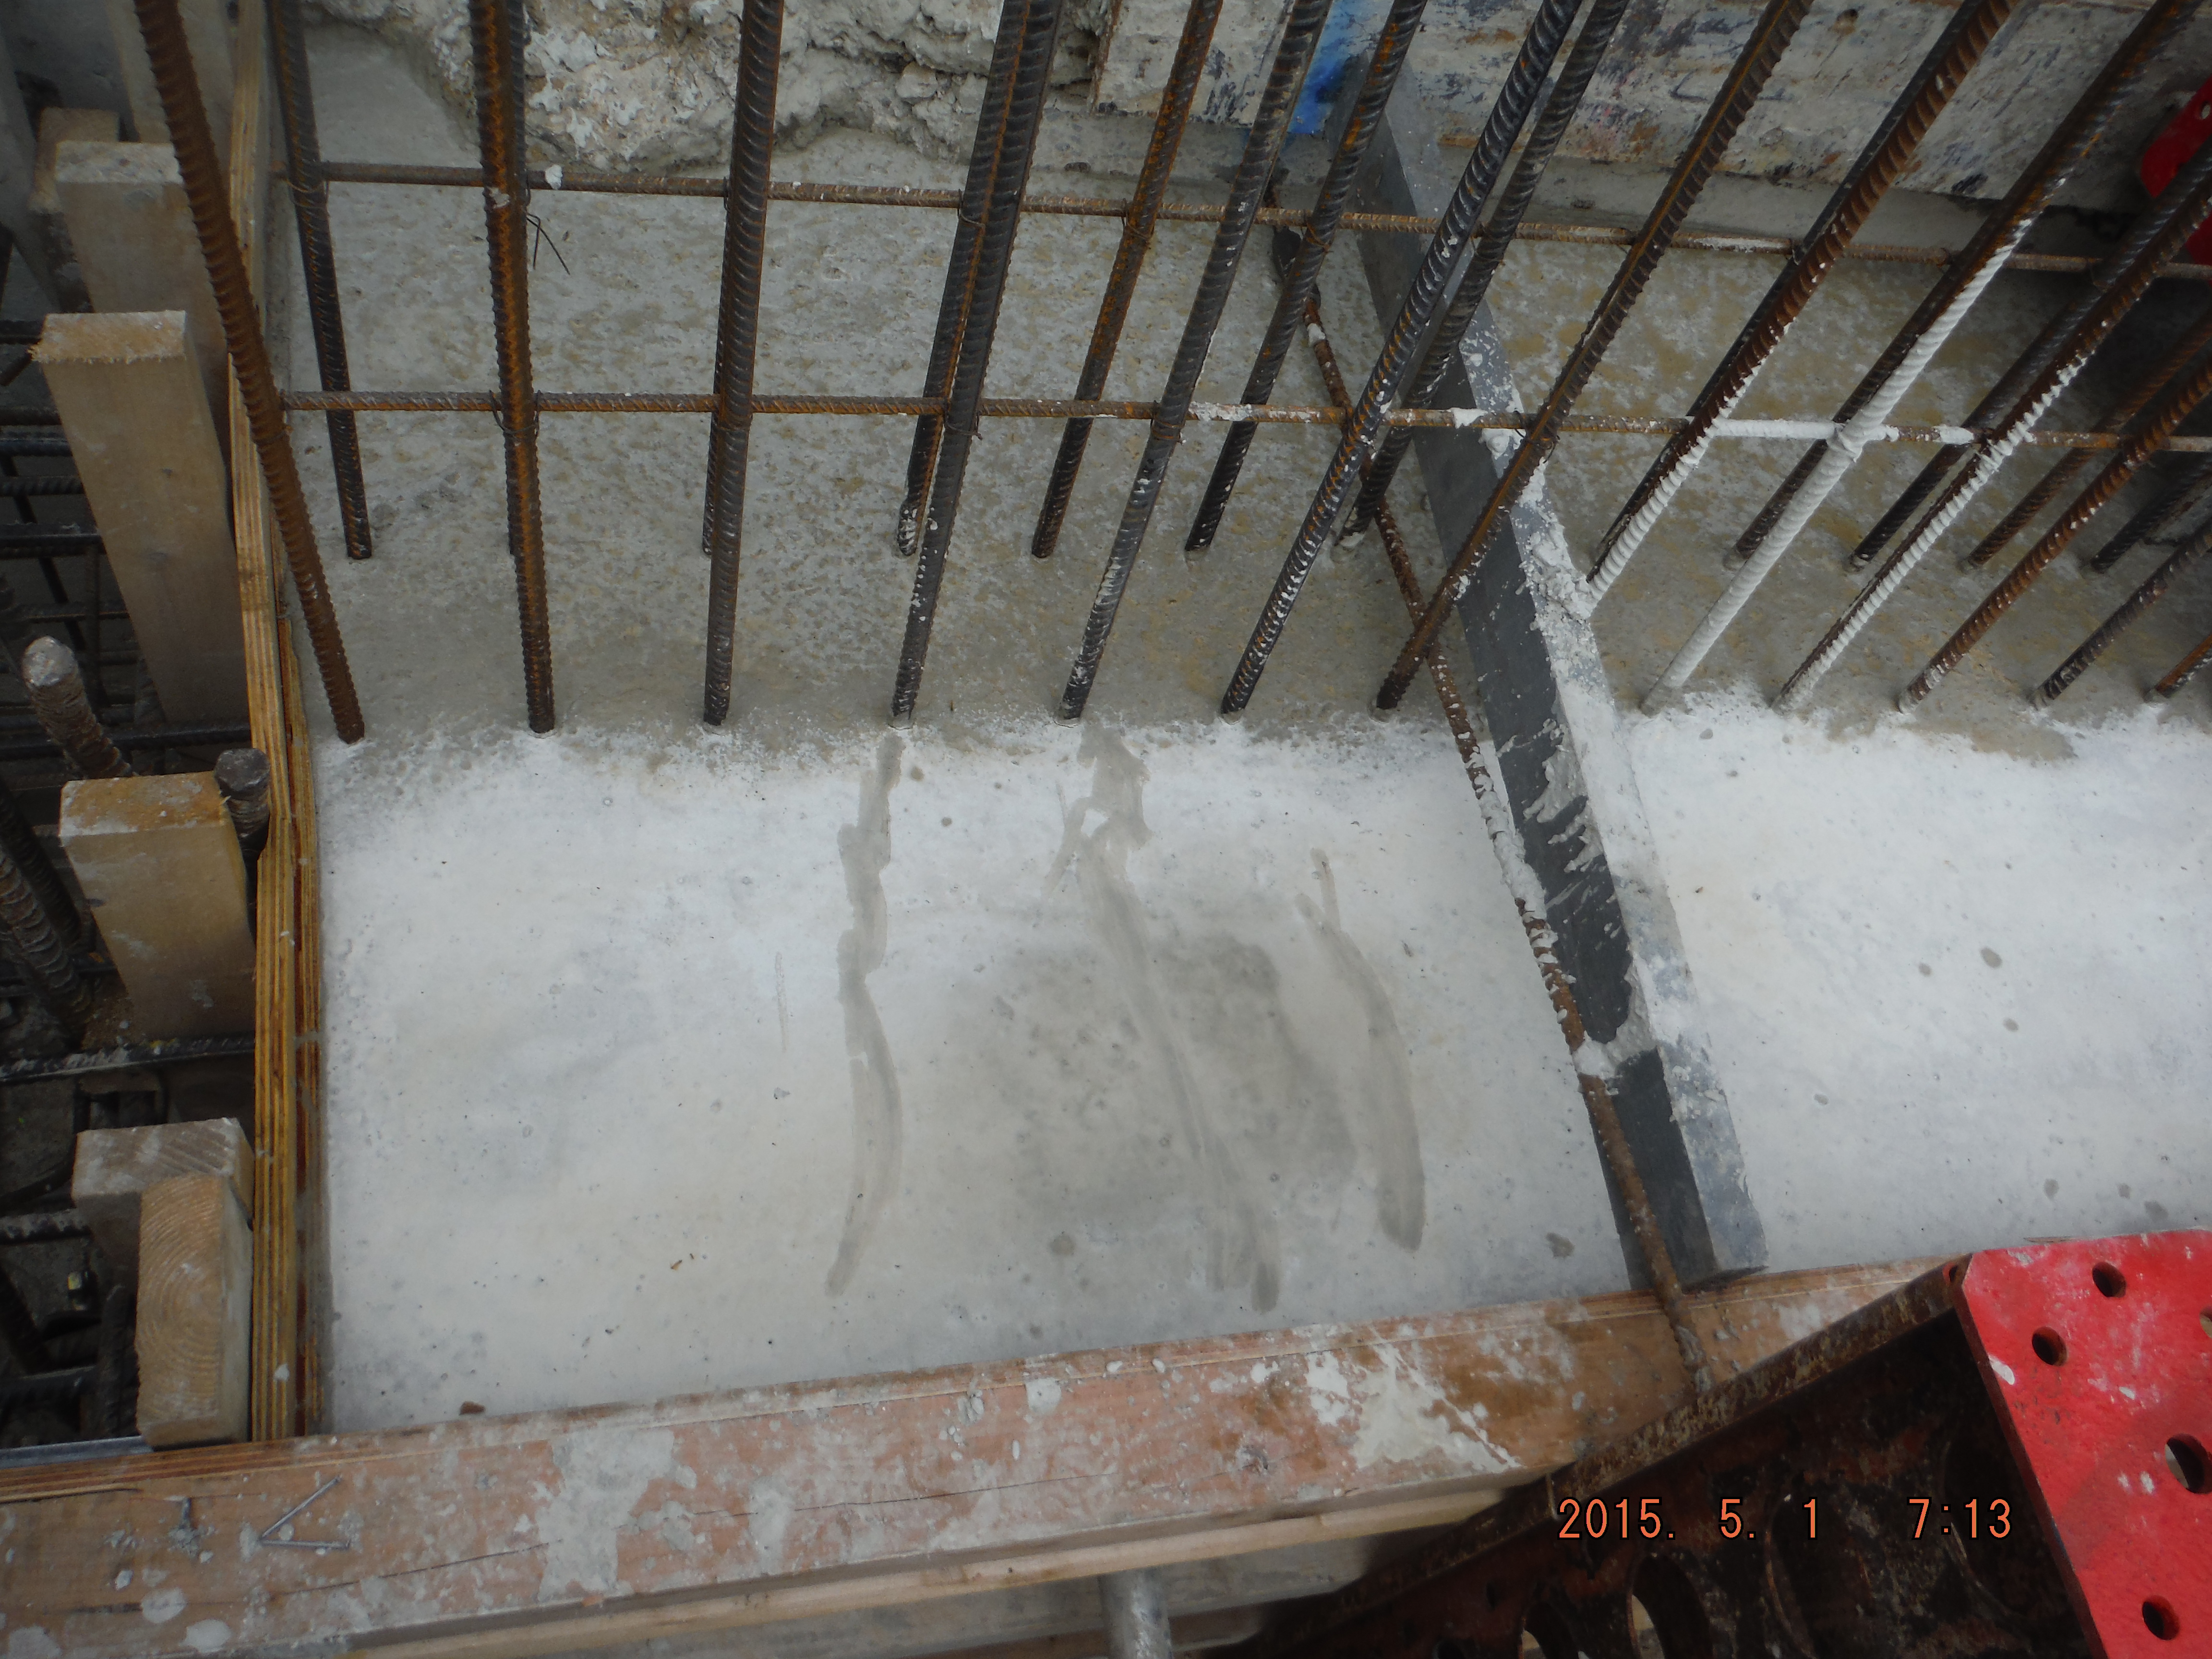
Near surface – cured for part of future basement level 1 slab. Far surface retarded for future retaining wall.
Cracks. The concrete mix and steel design is meant to help reduce cracking (maximum crack width allowable: 0.2mm), although only very limited trials have been done on this so it will be interesting to see what we get. The waterproofing requirement of the beam varies between level 1 (beading of water allowed on inside) to level 3 (completely waterproof). However crack width is limited to 0.2mm for the whole perimeter. The only difference is the level 3 sections are going to have a hydrophilic strip (between piles and bottom of capping beam) and an “Adprufe” additive in the concrete mix to make the beam waterproof.
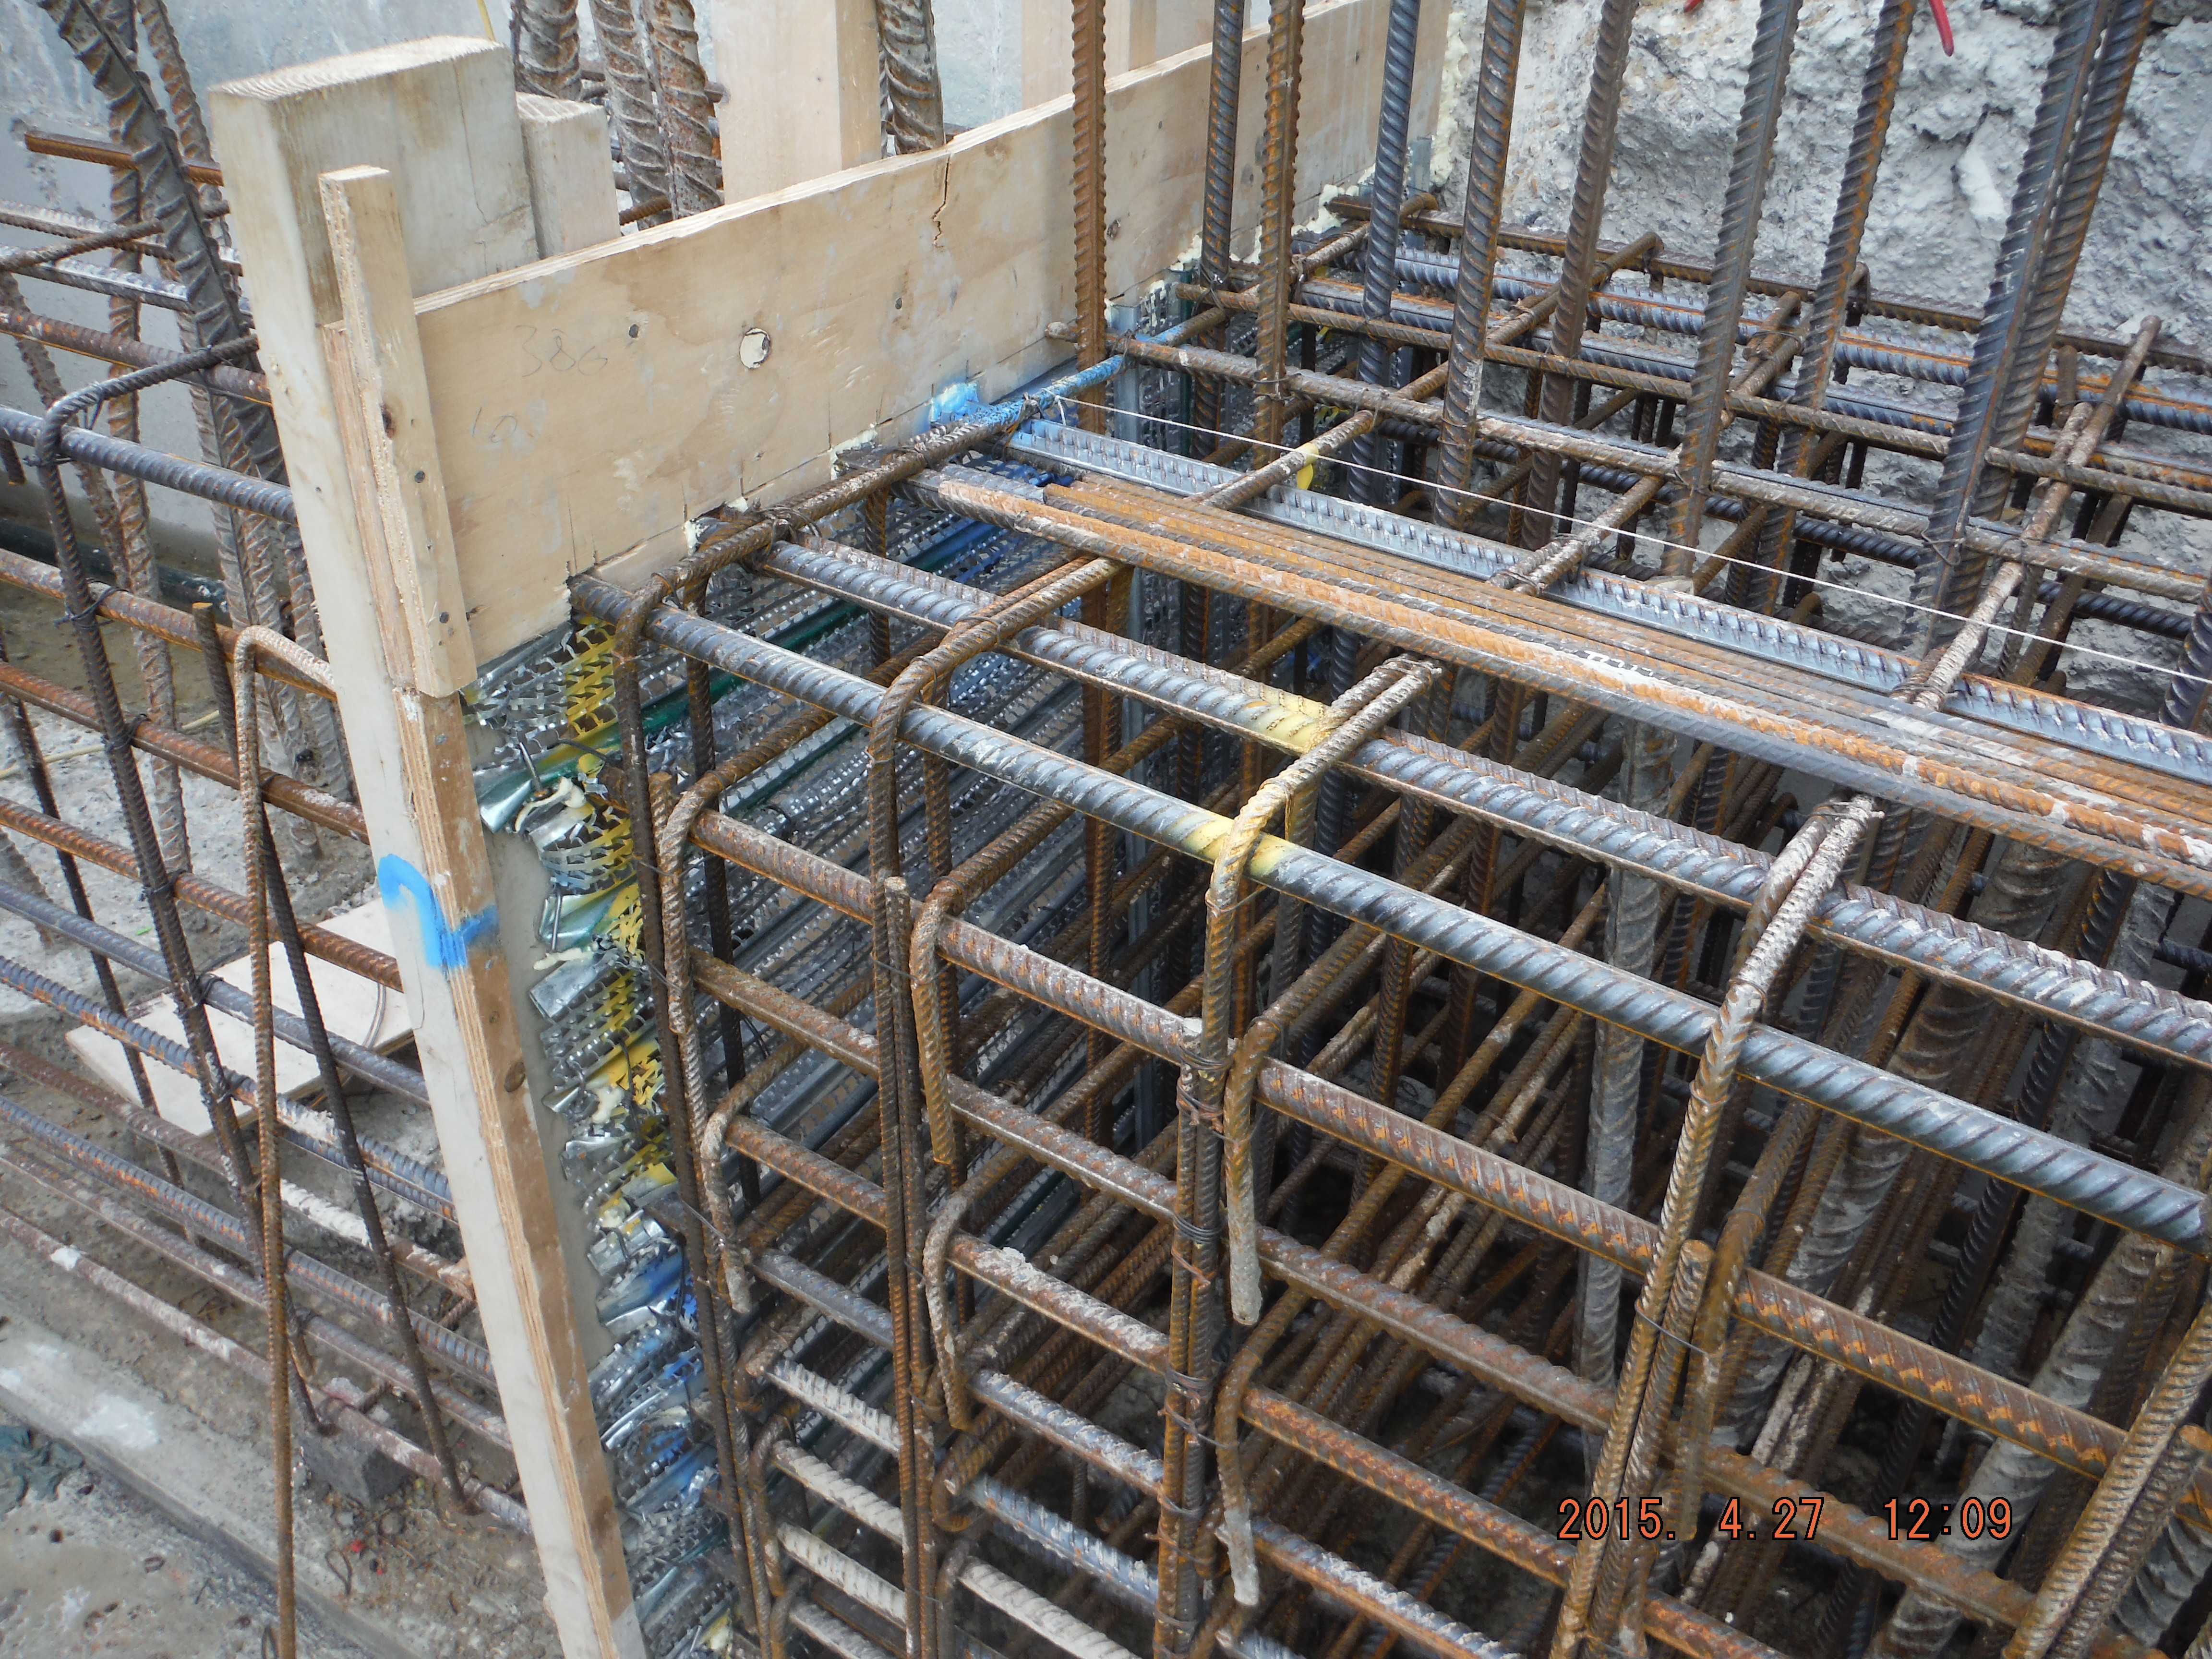
It is likely non-structural cracks will form (which cause durability issues because of reinforcement corrosion) within a day of the pour. The cover has been set at 55mm which means the as cracks reduce in width with depth, the reinforcement should be protected. Applying curing agent to the beam aims to protect it from rapid drying out of the concrete and therefore reduce cracking. Before hardening of the concrete plastic cracks may well form due to either plastic shrinkage or plastic settlement. It looks as though plastic settlement around the reinforcement due to “bleeding” (water rising to the beam surface shortly after compaction due to heavier mix constituents moving down due to gravity) has already occurred, although very minor at this stage.

Plastic settlement crack forming over link reinforcement.
Time will tell regarding the growth or healing of the cracks and so I will monitor the situation after the bank holiday.
It is now a case of: underpin, break piles, reinforcement, formwork, concrete and repeat…

Thanks for the pic of the hirib, haven’t come across that before. I’m guessing it comes off easily when you strip the form off? What are you using to cure the half of the beam away from the starter bars? Regarding the bleeding, how long after the pour is the surface being finished off? (is it just a steel trowel finish?) We normally had someone stay back for a good few hours, just to finish the surface off after the bleeding had stopped. This was a bit of an issue on the Saturday pours!
Hi Pete, thanks for the reply. Hirib stays on. Difficult to tell but it sits within the cover distance and forms the rough side for the future pour.
The curing agent is called “Adocure” and is sprayed on. “Adocure is an aqueous solution that reacts to deposit an integral layer of high strength crystals in the concrete pore structure. It helps prevent premature drying out of the concrete surface reducing the risks of surface cracking and dusting.” Well, apparently. It seemed pretty dusty to me so it will be interesting to see what cracks have formed. The project engineer is more keen on polyethylene to lock in the moisture so it will be good to see the difference.
Your bleeding prevention method sounds sensible. We steel trowel finished the concrete pretty much at the same time the pour finished. As it was completed at 8pm I might have struggled getting someone to stay on for a couple of hours!
I will see how it looks tomorrow and see if we need to start employing that tactic.
Did you find you had many cracks forming ? Did you rely on the autogeneous healing of cracks to maintain waterproofness?
Thanks Damian. I have to ask of the retaining wall/slab retard/cure issue why you were not pouring a kicker. I seem to recall this was specified as an RC40 mix but don’t recall knowing it’s specified consistency, cement content or w/c ratio. Can you confirm spec and actual delivered values. It looks very fluid. It would bge interesting to compare your spec to Petes and Joe up in suny Scunny on the DRAX. You have all had different site parameters/weather to contend with and I suspect that there is a TMR in the data if not a thesis…
Richard.
Hi Richard,
Kicker: Not used – more due to additional work effort required (noting king posts being in the way, proposals underway to attempt to remove some when the basement box is back at capping beam level) than anything else.
Mix Design as follows:
Concrete Reference In-situ concrete in contact with ground
Location Pile caps, capping beams, raft, basement slab
——————————-Specification—————–Actual
Strength class—————–C40/50————————C40/50
Exposure Designation———–XC3 (ACEC – AC-2)————-None shown
Maximum water-cement ratio—–0.5—————————0.45
Minimum cement content kg/m3—320—————————350
DC-Class where appropriate—–DC2—————————DC2
Permitted cement types———All—————————CIIIB 32,5L+SR
Maximum aggregate size (mm)—-20—————————-20
Chloride class—————–CI 0, 20———————-0.2
Other constituents as follows:
Mix Design: Materials & Mix Proportions: kg/m3 at SSD
PC (CEM I_52,5N)
Lafarge Tarmac, Tunstead – 135
Regen (GGBS) Std, EN 15167-1
Hanson, Purfleet – 315
4/10mm Gravel (EN 12620)
Lafarge Tarmac, Greenwich 277
10/20mm Gravel (EN 12620)
Lafarge Tarmac, Greenwich – 647
0/4mm Sand MP (EN 12620)
Lafarge Tarmac, Greenwich – 703
Trucarb 298
Lafarge Tarmac, Ballidon – 69
ChrysoFluid Optima 100
Chryso UK Ltd, Daventry – 5.04
Adprufe 100
Grace, Warrington – 0
Water – 175
Aggregate/ Cement Ratio 3.77
Water/ Cement Ratio – 0.39
Percentage Fines – 45.52
It is actually an F5 mix and so very fluid. This is to ensure the concrete gets between all of the reinforcement and shear stubs. It is a very sticky mix but actually holds together very well – i.e. no signs of any segregation.
How does this compare to Pete and Joe?
As I am looking for both a TMR title and a thesis, any more thoughts on this would be ideal!
We used a couple of different curing products, Concure X90 by Parchem and also Curecon A by Actech. They don’t seem to be very original with their naming of products. If my memory serves right they were acryllic water based products. One was a milky white colour and the other faintly green. To begin with we had issues because they weren’t being applied correctly (too thin a coat). Both products were designed to be left on and degrade under UV after a month plus. No real issues with cracks where the compound had been used. The only cracks that we had minor issues with was on the pedestals. As there were specific compounds being used to fix the bearings down we were limited in curing options – so it was wet hessian. This was a nightmare to keep constantly wet, and hence we had some cracks form. There was an issue we had on 2 headstocks where the retarding agent flooded out, then when the area around the starter bars was greencut the fines were washed from the surface of the headstock. We ended up having to use a 2 coat sealant to satisfy the clients representative that there wouldn’t be an issue (massive overkill in my opinion, but there was site politics involved). I’ll try to find the details of what we used, the name escapes me but it is intended for marine structures out at sea.